guides
Playdough Recipe: Cooked and No-Cook, Step by Step
Try a playdough recipe with cooked and no-cook methods, clear quantities, storage tips, sticky dough fixes and five easy play ideas.
How do you make a batch of playdough?
Mix plain flour, salt, water and a little vegetable oil, then knead until smooth. A cooked playdough recipe heats the mixture in a saucepan first; no-cook dough uses warm water and a bowl. Choose either method below, then use the storage tips and five play ideas to turn your batch into an afternoon activity.
Which recipe should you choose?
Choose cooked dough when a grown-up can handle the hob and leave time for cooling. Choose no-cook when you want to mix everything in a bowl. The no-cook recipe below uses warm water, so you won't need to handle a kettle of boiling water.
These quantities come from The Royal Wolverhampton NHS Trust's cooked recipe and West Suffolk NHS Foundation Trust's no-cook recipe. Use a 250 ml measuring cup and keep each recipe's quantities together.
- Plain flour, Cooked batch: 2 cups; No-cook batch: 3 cups
- Table salt, Cooked batch: 1 cup; No-cook batch: 1 cup
- Water, Cooked batch: 2 cups; No-cook batch: 250 ml, warm
- Vegetable oil, Cooked batch: 2 tablespoons; No-cook batch: 60 ml
- Cream of tartar, Cooked batch: 2 teaspoons, optional; No-cook batch: None
- Food colouring, Cooked batch: A few drops, optional; No-cook batch: A few drops, optional
Cream of tartar is optional: the National Literacy Trust says it helps dough last longer, but you can make dough without it. The no-cook column needs none.
What needs checking before little hands join in?
Check all ingredients for allergens, including the flour, oil and colouring, and avoid anything your child is allergic to. Ordinary plain flour contains wheat, so these recipes are unsuitable for a child with a wheat allergy.
Both batches are for supervised play, not eating. Homemade dough can contain a lot of salt, as New Zealand's National Poisons Centre explains. If your child still eats play materials, put the ingredients away and choose a different activity to do together for now.
The Food Standards Agency's advice for England, Wales and Northern Ireland warns that raw flour can carry harmful bacteria. Wash hands before and after, and clean bowls, tools and surfaces. Home heat treatment isn't a guarantee that flour is safe to eat.
Skip beads and marbles, especially with under-3s: they're choking hazards. Keep dough away from dogs too. Blue Cross warns that its salt content is toxic to dogs; contact your vet immediately if yours eats it.
How do you turn the ingredients into dough?
Follow the same sequence for either batch, with the saucepan step only for cooked dough. Set out a board, a wooden spoon and your measured ingredients before you begin. Let your child choose the colour while you organise the mixing, heating and cooling.
1. Measure your chosen batch
Put the flour and salt into a large saucepan for cooked dough, or a large bowl for no-cook. Add cream of tartar if you're using the cooked version, keeping the water separate for now.
2. Colour the water
Stir food colouring into the measured water, then add the oil to your flour mixture. Leave the colouring out if the cupboard's bare: you can still roll, squash and shape plain dough.
3. Bring the mixture together
For cooked dough, stir in all the water; for no-cook, add it gradually while mixing with a wooden spoon. Stop adding water when the no-cook mixture comes together, rather than pouring in the remainder automatically.
4. Heat only the cooked batch
A grown-up stirs the saucepan over a medium heat until the dough pulls away from its sides, then removes it from the hob. If you're making no-cook dough, leave your bowl on the worktop and move straight to kneading once it's cool.
5. Cool, then knead
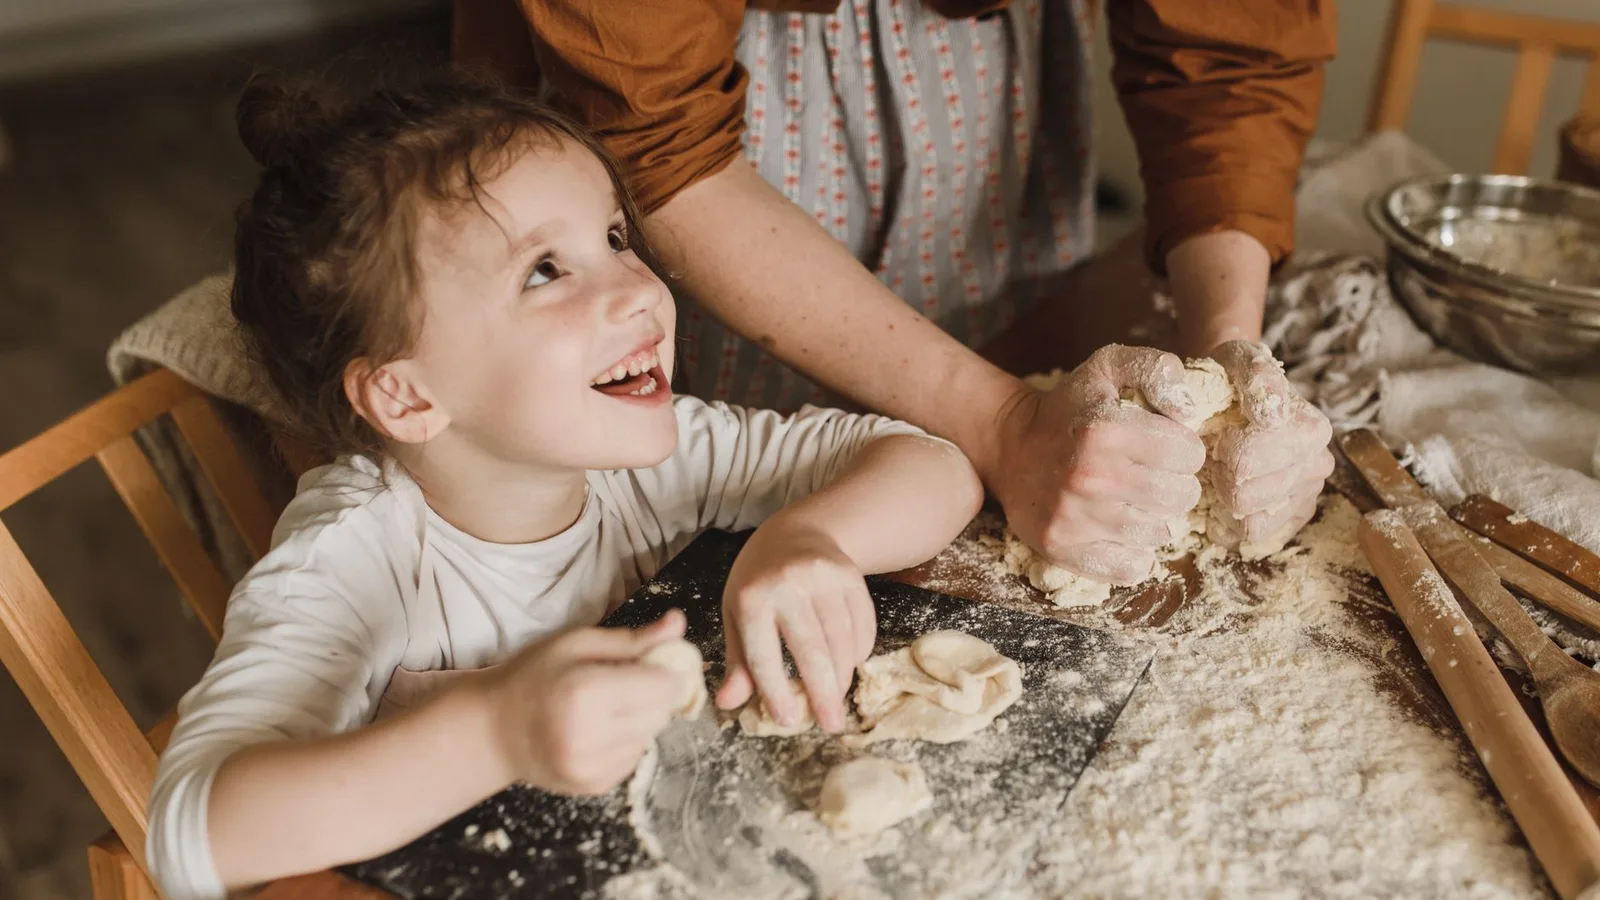
Let heated dough cool before anyone handles it; check the middle as well as the outside. Press and fold it on your board until smooth, and let your child join in once you've checked it.
Allow time for cooling and kneading
The no-cook method skips the hob, but still needs mixing and kneading. Action for Children suggests kneading for a few minutes once the dough is cool. With the cooked batch, make it ahead if your child wants to start playing immediately: cooling is part of the job.
What if it's sticky, crumbly or gets a firm no?
Try a small adjustment before starting again with a fresh batch. Action for Children's recipe recommends extra flour for dough that's too wet and more water for dough that's crumbly. Knead after each addition, then check again before adding more.
- Wet dough sticking to fingers, What to try: Cool and knead first, then add a little flour
- Dry dough breaking apart, What to try: Work in a little water
- A child avoiding the texture, What to try: Offer a spoon or rolling pin
- No interest in making anything, What to try: Put your model aside and let them squash
If playdough gets a firm no, there are other activities for four-year-olds. If you're worried about your child's hand skills or wider development, speak to your GP or health visitor.
How should you put it away for another afternoon?
Store cooled dough in a sealed plastic container in the fridge, following the National Literacy Trust's storage advice. Label the tub with the date you made it and put the rolling pin and cutters together in a box, ready for another go.
Check it before play: the Ontario Science Centre recommends discarding dough with an unusual smell or spots.
What are five things to make with your batch?
Start with whichever idea catches your child's attention, and leave the rest for another day. The Department for Education describes pinching, stretching and rolling as opportunities to practise fine motor skills, meaning the small movements involved in using hands and fingers.
- A snake: roll a long sausage, then curl it into a spiral.
- A thumb pot: press your thumb into a ball and pinch around the edge.
- A pattern tile: flatten the dough and press a spoon into it to make repeating marks.
- A dough letter: bend a long roll into the first letter of your child's name.
- A pretend picnic: make plates and pretend food from the dough, then squash everything back together.
For a change of activity, try our rainy day play ideas.
If you'd like some yoga after the dough's packed away, explore Yogi-Me's mats, with 15 numbered poses laser-engraved into the surface.
Frequently asked questions
How do you make 3 ingredient playdough?
Mix 1¼ cups of flour with ½ cup of salt, then gradually work in ½ cup of water until smooth. That's the basic recipe in NHS Health Scotland's play@home booklet. It needs no oil or cream of tartar. As with the other recipes here, keep it for playing.
Why is my playdough sticky?
Too much water can leave playdough sticky. Let it cool and knead it before changing the mixture, then work in a little extra flour if needed. Add small amounts and knead between additions. For your next no-cook batch, pour the water gradually rather than tipping it all in.
Is homemade playdough safe if a toddler eats it?
No, you shouldn't treat homemade playdough as edible. Its salt content can be harmful if swallowed. If your child eats some and you're unsure whether it's harmful, get urgent medical advice. For suspected poisoning or serious symptoms, call 999. Don't try to make your child sick.
How long does homemade playdough last?
There isn't a guaranteed shelf life for every batch. The National Literacy Trust says its cooked playdough should last several weeks in a plastic container in the fridge. Check your dough before each session and discard it if it smells odd or develops spots.
Sources
- The Royal Wolverhampton NHS Trust: Playdough
- West Suffolk NHS Foundation Trust: Fine motor skills resource
- National Literacy Trust: Using your hands to play and learn
- New Zealand National Poisons Centre: Poisoning issues in child care facilities
- Food Standards Agency: Handling flour and flour products safely
- NHS: How to stop a child from choking
- Blue Cross: Poisonous foods for dogs
- Action for Children: How to make your own playdough
- Enfield Council: Worries about your child's health or development
- Ontario Science Centre: Homemade play dough
- Department for Education: Fine motor skills
- NHS Health Scotland: Play@home preschool booklet
- NHS: Poisoning