guides
How to Tie Shoelaces: 3 Ways to Teach Your Child
Learn how to tie shoelaces with bunny ears, loop and swoop, and a finish-first teaching method, plus a five-minute practice plan.
How do you start teaching shoelaces?
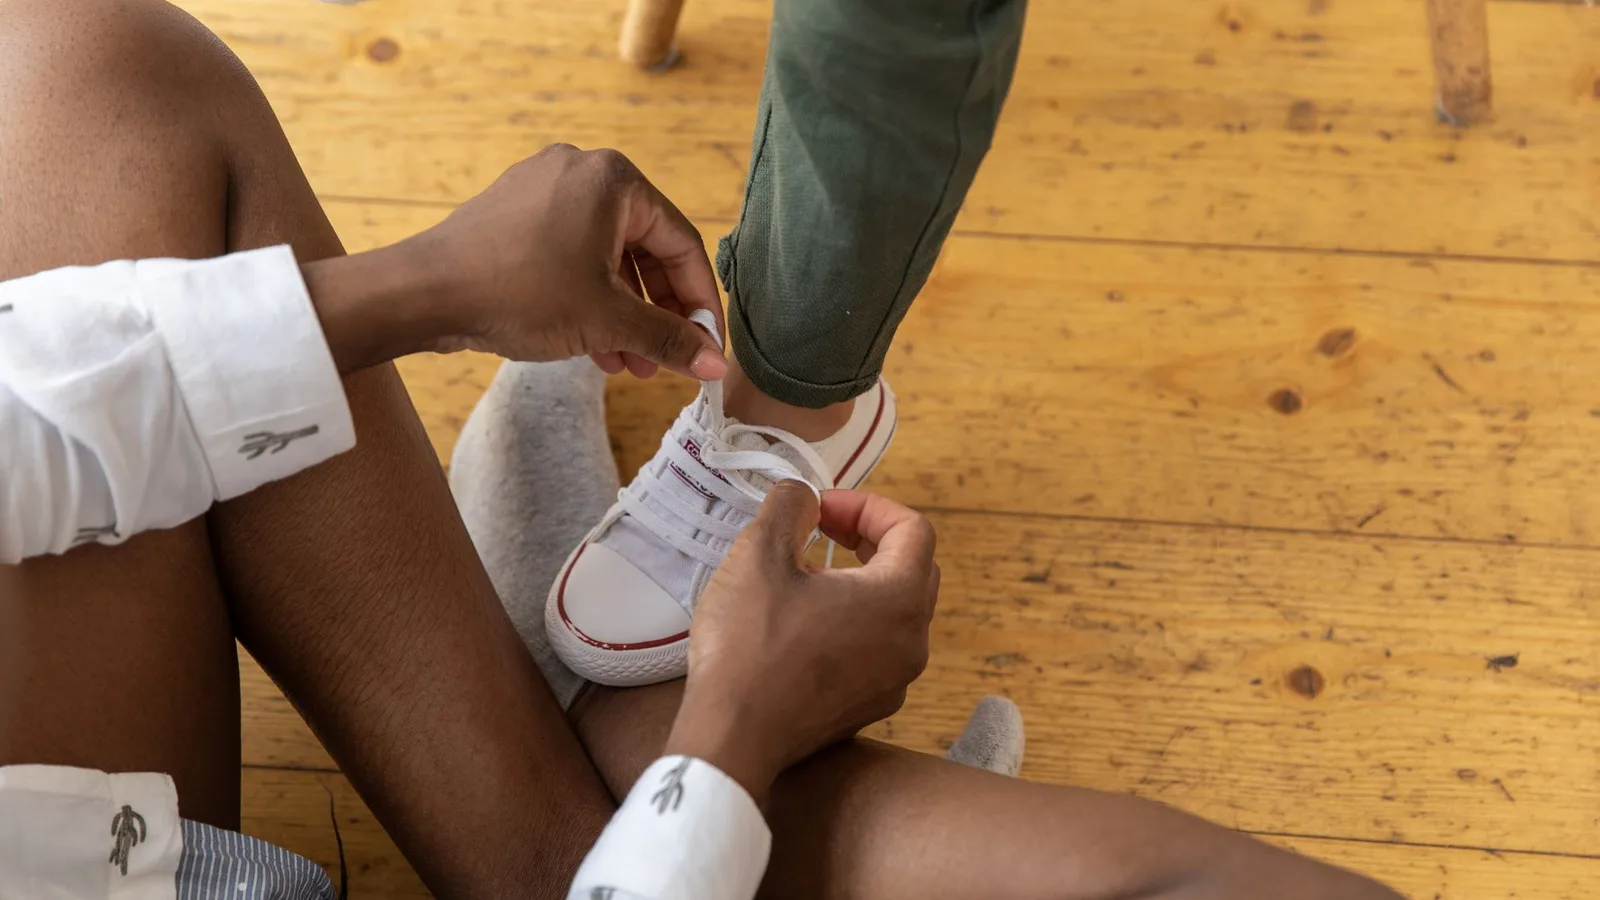
To teach your child how to tie shoelaces, put a shoe on the table and show a bow slowly. Start by crossing the laces, tucking one underneath and pulling, then try bunny ears or loop and swoop. If the whole sequence is too much, do the earlier actions yourself and let your child finish the bow.
Save it for after tea, when nobody's waiting by the front door.
At what age can children tie their laces?
Around 5 to 7 is the readiness range in one NHS shoelacing leaflet, while Children and Family Health Devon gives around 7 to 8. These are guides to the hand skills involved, not a deadline for producing a neat bow before school.
Fine motor skills involve small, controlled movements used in tasks such as dressing. The Department for Education explains their role in everyday activities. For wider preparation in England, see our starting-school readiness guide.
What do you need to practise lace-tying?
Start with a clean shoe, its heel nearest your child and its toe pointing away. Sit them at the table and demonstrate from behind, with your hands facing the same way as theirs. NHS Forth Valley recommends this shared viewpoint.
Devon's guidance suggests flat laces and contrasting colours. Use what you have first, without buying a practice board.
Supervise practice and keep spare laces out of young children's reach. Afterwards, put loose laces away where children cannot reach them. The Child Accident Prevention Trust warns that strings and cords can cause strangulation.
Which of these three methods should you try?
Choose bunny ears or loop and swoop for the bow itself. The third method, finishing first, is a way to teach either bow by handing over the final action. Read the options yourself, then show your child just the approach you're going to practise. Mersey Care's shoelace video tutorials demonstrate both bow methods from the front and from the child's viewpoint.
With either method, check the finished bow. Its loops should lie across the shoe. If they twist towards the heel and toe, this may be a granny knot, which loosens more easily. Untie it and reverse only the starting knot: swap left over right for right over left, or vice versa, then repeat the remaining bow movements.
1. Bunny ears: make two loops
Follow this sequence, adapted from West Suffolk NHS guidance:
- Cross the laces. Pass one end underneath the other and pull both ends outwards to make the starting knot.
- Fold each lace back on itself to make an ear, leaving a loose tail. Pinch each ear near the starting knot.
- Cross the ears over each other, keeping hold near their bases.
- Fold one ear behind the other and push its folded tip through the gap beneath the crossing.
- Hold an ear in each hand and pull them apart to tighten the bow.
If an ear disappears, pause before starting again. Show where your fingers are pinching, then let your child copy that hold.
2. Loop and swoop: make one loop first
This is the single-loop method described by East London NHS guidance:
- Cross the laces, tuck one underneath the other and pull the starting knot snug.
- Fold one lace into a loop. Hold its base between thumb and finger.
- Wrap the other lace around the base of that loop, leaving a small gap.
- Push a folded section of the wrapping lace through the gap to make another loop. Don't push the loose tip all the way through.
- Keep hold of both loops and pull them apart.
If the first loop drops, your job can simply be to hold it while your child does the wrapping.
3. Finish first: work backwards from a bow
This teaching technique is called backward chaining. Barnsley Children's Therapy Services describes starting with the final pull.
- You make the bow but leave it loose. Your child pulls the loops sideways to finish.
- Once they can do that without prompting, leave the loop-pushing and tightening for them.
- Gradually hand over earlier actions, keeping the same knot method.
These are stages across practice sessions. Tonight's job can stay as small as pulling the loops.
How can you fit practice into five minutes?
Use this suggested five-minute slot after tea or at a quiet weekend moment. Choose a single knot method and stop when the slot ends, even if you're still helping. NHS guidance recommends practising without time pressure, so keep the clock for yourself.
- Set up, 30 seconds. Put the shoe on the table. Let your child get settled.
- Show, 30 seconds. Demonstrate the chosen bow. Say the actions as you make them.
- Have a go, 60 seconds. Let your child try. Wait before reaching in.
- Practise the sticking point, 60 seconds. Reset only the action that needs help. You can hold the rest.
- Finish together, 90 seconds. Use backward chaining if needed. Repeat the manageable part while your child still wants to.
- Pause, 30 seconds. Leave the shoe still and rest your hands. Notice what your child completed, then put it away.
That's five minutes in total. Stopping earlier is fine; there's no minimum number of finished bows.
What if the loops keep falling apart?
Look at the exact moment the bow unravels before showing the whole thing again. Is the loop slipping out of their fingers, is the lace going through tip first, or have they forgotten what comes next? Choose the matching adjustment below and retry that part.
- The first loop keeps disappearing: hold its base while your child wraps the other lace.
- They push the entire loose end through: fold that lace first and point to the folded part that goes through.
- They can't remember the next action: prepare the bow until the final pull, then hand it over.
These adjustments use the single-loop sequence and backward-chaining approach.
If you're worried about your child's hand skills or wider progress, speak to your GP or health visitor.
How do you pick it up again tomorrow?
Choose a familiar moment, bring out the same shoe and begin with the action your child last managed. After a gap, offer to show it again. If they don't want to practise, put it away and choose another day. Leave the morning departure for getting out.
Once tying at the table feels manageable, progress to a shoe on their lap, then on their foot. Our guide to building your child's confidence has more ideas for everyday tasks to try together.
When shoelace practice is packed away, explore Yogi-Me's mats for a movement activity together, with numbered poses laser-engraved into the surface.
Frequently asked questions
What is the easiest way to tie shoelaces?
Bunny ears is worth trying first. Manchester's children's therapy guidance says it may be easier than the standard method because there are fewer different steps. Make a loop in each lace, then tie the loops together. Stick with whichever method your child finds more manageable.
At what age should a child be able to tie shoelaces?
Readiness varies. One NHS shoelacing leaflet gives 5 to 7 for the hand skills involved, while Children and Family Health Devon puts readiness around 7 to 8. Treat those ages as guidance, not a birthday deadline. Offer help with the tricky part and keep practice short.
Can you teach a child to tie shoes in five minutes?
Use five minutes to practise one action, such as holding a loop or tightening the bow. You can stop there even if the rest still needs your help. The schedule above is a suggested practice slot; it doesn't predict how long your child will take to learn.
How do you teach a left-handed child to tie shoelaces?
For the single-loop method, make the first loop on your child's preferred-hand side. Demonstrate from behind them, looking in the same direction, so they can follow your hands. Let them pause at each movement. You can prepare most of the bow and leave the final pull for them to finish.
Sources
- NHS: shoelacing advice
- NHS Devon: shoelace tying
- Department for Education: fine motor skills
- East London NHS: dressing and shoelaces
- West Suffolk NHS: bunny ears
- Barnsley Children's Therapy Services: backward chaining
- NELFT NHS: shoelace practice
- NHS Forth Valley: shoelace teaching
- Manchester NHS: dressing skills
- Child Accident Prevention Trust: child safety
- NHS Hounslow Healthier Together: hand skills