guides
Rock Painting Ideas: 25 Easy Designs for Kids
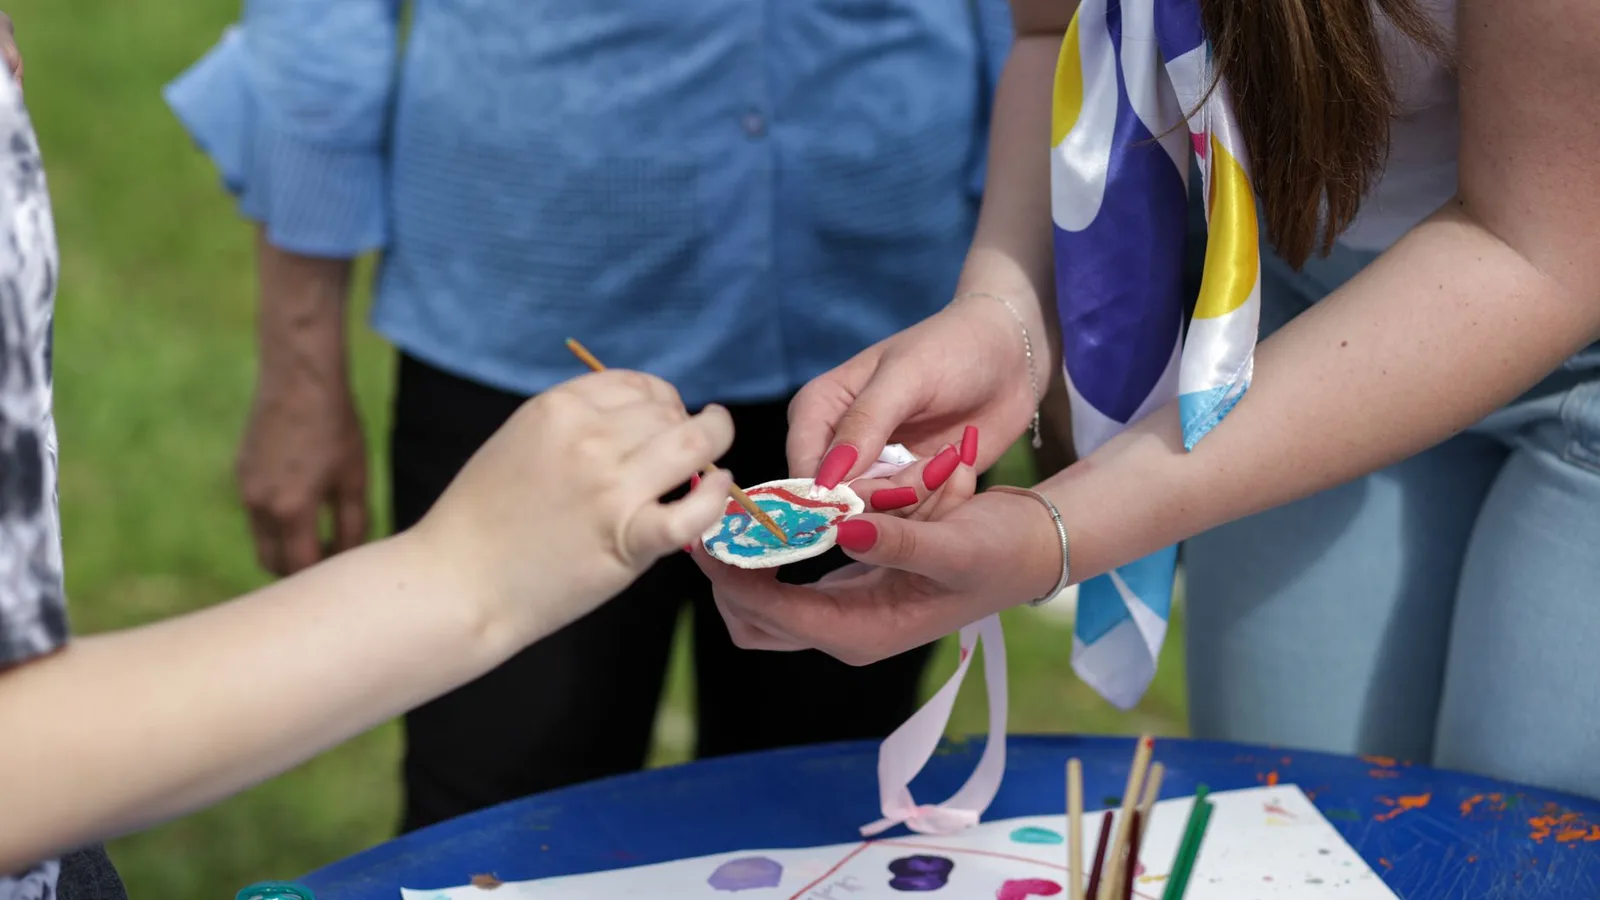
Try 25 rock painting ideas for kids, from dots and ladybirds to kind messages, with age guides, paint advice and ways to share your stones.
Which designs are easiest to start with?
Easy rock painting ideas for kids include colourful dots, smiling faces, ladybirds, rainbows and short kind messages. Start with bold marks, then try layered pictures or lettering when your child fancies more detail. Below are 25 designs, grouped by suggested starting age, plus a simple guide to paint, sealing and sharing them.
- 3 to 4, Try these marks: Dots, broad stripes and faces; Designs below: 1 to 8
- 5 to 6, Try these marks: Layered animals and simple pictures; Designs below: 9 to 18
- 7 to 8, Try these marks: Finer patterns, letters and messages; Designs below: 19 to 25
These ages are suggestions, not milestones. An older child can choose dots; a younger child can dictate a message. Start anywhere.
What paint and stones should you put on the table?
Use smooth stones and acrylic paint, as in National Children's Gardening Week's activity, labelled for your child's age. Add a broad brush, a fine brush, a pencil, a water pot and a covered work surface. Keep the first batch indoors and decide about varnish once the designs are finished.
Buy craft pebbles or use stones you already own. Scouts advises against taking stones from beaches. Wash and dry them before painting, following the Royal Horticultural Society's preparation advice.
Paint a background only if your design needs one. Let each layer dry before adding details; use the drying time on your paint label. Set the finished stones on a tray out of the way.
A quick safety note: supervise the painting and follow the materials' instructions, as Scouts advises. Keep small stones, pen caps and loose decorations away from under-3s. The NHS warns that small objects can cause choking. Paint eyes on instead of adding beads; use paper if your child still mouths materials.
What can you paint with dots, shapes and words?
Work down the list as the designs become more detailed, or pick a picture your child likes. The spoken prompts are there if you need them. Let your child choose the colours, and leave out any detail that turns a cheerful painting session into a fiddly job.
1. Polka dots
Cover a stone with dots in your favourite colours. Say, "Dab, lift, leave a gap." Keep the natural stone as the background, so there's no base coat to wait for.
2. Broad stripes
Make a striped stone using a broad brush. Say, "Pull a line from one side to the other, then choose another colour." Wobbly stripes count; there's no need for a ruler.
3. Smiling face
Turn a plain pebble into a face with painted eyes and a smile. Say, "Put the eyes wherever you like." Add eyebrows to change its expression, or leave it at that.
4. Spotty monster
Paint a colourful blob, then give it eyes once it's dry. Say, "How many eyes does your monster want?" Add a wonky mouth; this creature doesn't need to resemble anything real.
5. Sunshine
Put a yellow circle in the middle and short rays around it. Say, "Start in the centre and brush outwards." Leave the background bare, or add a face when it's dry.
6. Raincloud
Dab a cloud across the top of a stone, then add blue strokes beneath it. Say, "Make the rain fall down." A grey pebble can be the sky without another coat.
7. Balloons
Paint coloured ovals and add a line beneath each after drying. Say, "Give your balloon a painted string." Leave space around the ovals so the strings don't have to cross.
8. Watermelon slice
Paint a pink middle, add a green edge, then dot on black seeds after drying. Say, "Leave a little room for the rind." A rounded triangle suits this pretend fruit slice.
9. Ladybird
Paint the stone red and let it dry before adding a black head, centre line and spots. Say, "Put spots on both sides." Leave the underside bare to hold while painting.
10. Stripy bee
Start with a yellow stone, then add black stripes once it's dry. Say, "Leave yellow spaces between the stripes." Paint white wings on top, keeping every part of the bee on the stone.
11. Snail
Paint a large circle for the shell, with a curved body underneath. Say, "Wind a spiral into the shell." Use the stone's shape to decide which way your snail should face.
12. Fish
Paint an oval body and a triangle tail on the stone. Say, "Point your fish towards the edge." Add an eye when dry, then choose stripes or dots for its body.
13. Turtle
Paint a green oval shell with a head and flippers around it. Say, "Draw some big patches on the shell." Keep those patches broad rather than trying to squeeze in tiny details.
14. Owl
Paint large round eyes, a small triangle beak and curved wings. Say, "Let the eyes take up lots of space." Use the stone's natural colour for the body and leave the back plain.
15. Strawberry
Turn a rounded stone red, then add a green leafy cap once it's dry. Say, "Make little yellow dashes for seeds." Keep the leaves on the upper face instead of painting underneath.
16. Rainbow
Draw nested coloured arches across a flat stone. Say, "Follow the curve and leave room for the next colour." Choose a short rainbow of your favourite colours rather than fitting them all in.
17. Daisy
Paint a yellow centre, then dab white petals around it once dry. Say, "Point each petal towards the middle." Put it on a dark pebble so the white has a contrasting background.
18. Tiny house
Paint a square with a triangle roof, then add a door and windows. Say, "Who might live behind that door?" Leave the house alone or paint a path leading towards it.
19. Night sky
Cover the stone in dark blue and let it dry. Say, "Add a moon and dot stars around it." Keep some empty sky between the stars, or draw an imaginary constellation.
20. Snowflake
Paint crossing lines that meet in the middle, then add short branches to each arm. Say, "Work from the centre out." Try it on bare stone before choosing a coloured background.
21. Decorated initial
Draw the first letter of a name in pencil, then paint over it. Say, "Make the letter big enough to decorate." Fill it with stripes or dots once the outline is dry.
22. A hello stone
Write HELLO across a broad, flat pebble and add a coloured border. Say, "Try your word on paper first." Choose block letters, or let your child dictate while you do the writing.
23. A kind message
Paint a short message such as "You matter" on a light background. Say, "Who would you like to give this to?" Keep the lettering large and leave space around the words.
24. Garden label
Write a plant name, such as MINT, across the stone and add a leaf. Say, "Match your picture to the plant." Keep it beside an indoor pot, or follow the outdoor sealing advice.
25. Story starter
Paint a key, a door or a mysterious footprint on a stone. Say, "What happens when somebody finds this?" Use the picture to begin a made-up story after the paint has dried.
Where can you leave a kindness rock?
A kindness rock carries a friendly picture or message for somebody else to find. Hide one in your own garden for a visitor, give it directly to a neighbour, or ask a community venue whether it welcomes a small display. The sharing can be as simple as handing it over.
For public places, ask the land manager first. The Countryside Code for England and Wales says to leave stones as you find them and leave no trace. Keep painted stones out of wild places; don't assume a public footpath is a craft display.
A hello stone is enough. There are more small ways to give in our kindness activities for children.
How can a few stones become an afternoon's activity?
Choose a small set with something to do after painting: a picture to display, a character for a story or a gift to pass on. Plan the painting and the dry-stone play as separate stages, so nobody is waiting with a brush over a still-wet ladybird.
- A 10-minute start: offer a stone and a choice of dots or stripes. Stop when your child has finished their design. Leave it to dry according to the paint instructions, then choose its display spot together.
- A tiny creature collection: paint a ladybird, bee and snail. Once dry, arrange them on a paper garden and draw paths between them.
- A shared surprise: make a hello stone and a kind message. Give one away and hide the other in your own garden for someone you've invited to find it.
After the stones are put away, you could swap painting for movement. Explore our children's yoga mat, with 15 numbered poses laser-engraved into the surface, and choose a pose together.
What if they'd rather do anything but paint?
Offer a smaller job or leave it for another day. Your child could choose the colours, invent a monster's name or tell you what to paint while you hold the brush. They don't need to finish a design, copy your example or explain what their picture means.
If they want to cover everything in the same colour, let that be the design. If they ask you to fix a mark, ask what they'd like changed before taking over. A smear can stay a smear; it doesn't need turning into a lesson.
For a different afternoon, our rainy day activities include ideas away from the craft table.
Frequently asked questions
What kind of paint should you use for rock painting?
Acrylic paint is a useful starting point: National Children's Gardening Week uses it for painted rock bugs. Choose a product labelled for your child's age and follow its instructions. Put out a small selection of colours, then use a fine brush for the details.
What should you put on rocks before painting them?
Cornwall Council's rock-painting guide recommends cleaning the stones and letting them dry fully before painting. Sketch a design in pencil if you like. For this activity, try painting directly onto the clean stone first; add a background colour only when your chosen design needs one.
What should you seal painted rocks with?
Use a clear varnish suitable for your paint and intended location. For an outdoor stone, check that the label allows exterior use. Leave varnishing to a grown-up and follow the product's drying and ventilation instructions. If you're displaying the stones indoors, you can simply leave them unsealed.
Can you use marker pens on rocks?
Yes. The Royal Horticultural Society includes permanent pens in its pebble-painting activity, while Scouts also suggests paint pens. Pick pens labelled for your child's age and the surface you're decorating. For a word design, practise the lettering on paper first, then copy it onto the stone.