guides
Salt Dough Recipe for Kids: Ornaments and Handprints
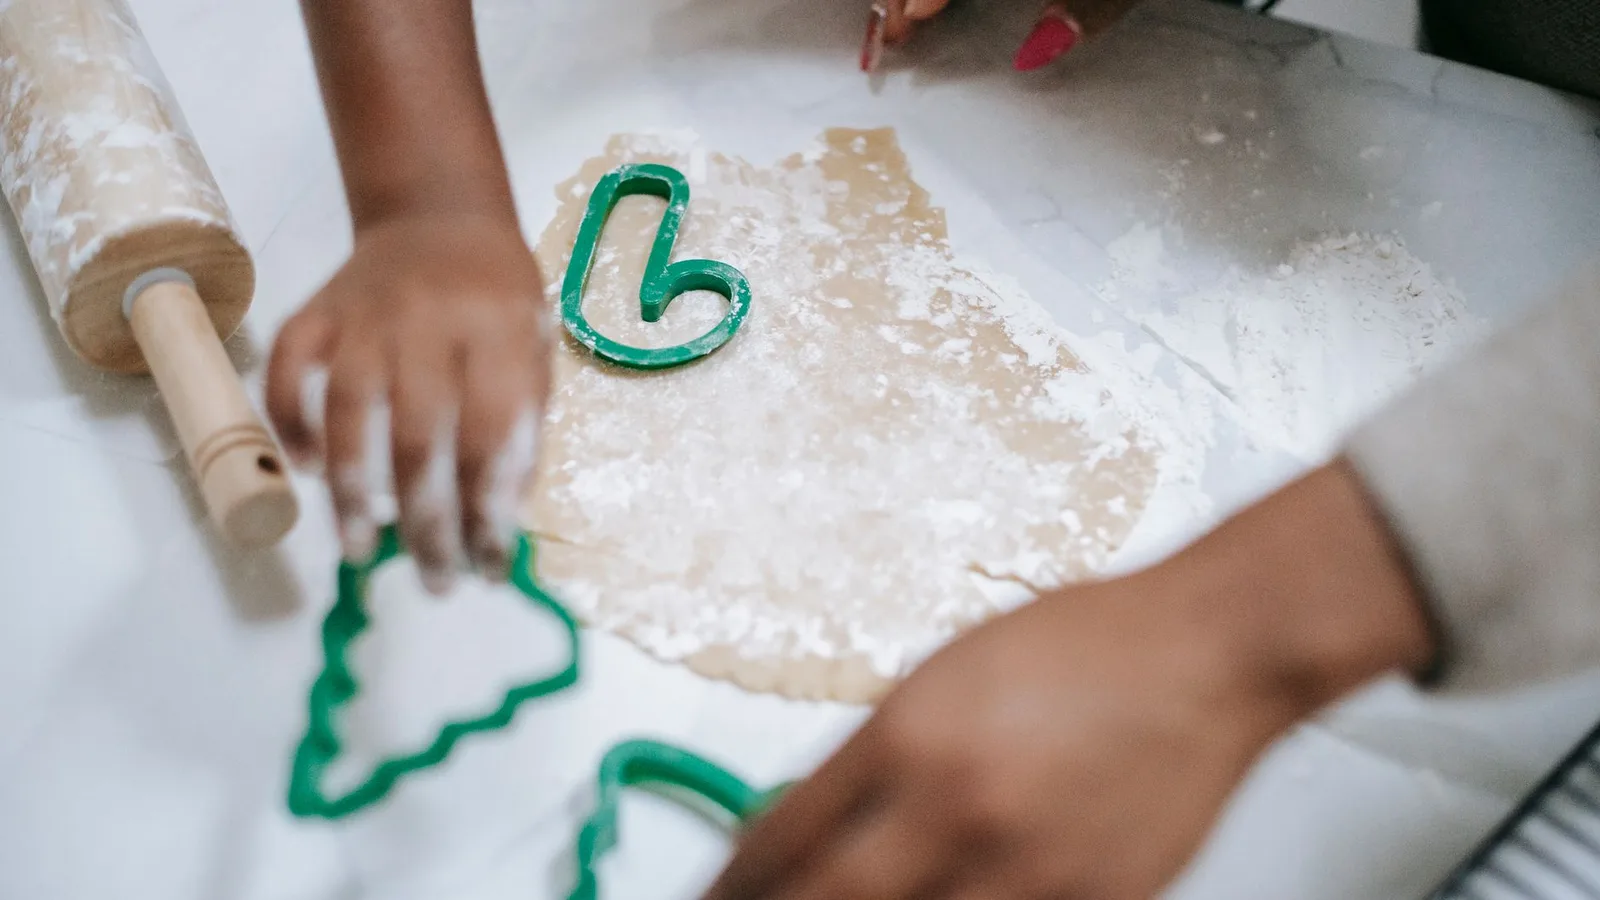
An easy salt dough recipe for decorations, handprints and name plaques, with oven and air drying times, painting tips and fixes for puffy dough.
How do you make salt dough with three ingredients?
This salt dough recipe uses 2 cups of plain flour, 1 cup of table salt and up to 1 cup of water. Mix, knead and shape, then dry before painting. Use the same cup throughout: the Scouts' 2:1:1 recipe measures by volume, not weight. You can make Christmas decorations, handprints or name plaques.
You'll also need a bowl, spoon, rolling pin, baking paper, tray and biscuit cutters or a blunt knife. Keep the paints for another session.
Before you begin: salt dough isn't food, even after baking. The Food Standards Agency's flour guidance advises no tasting, washing hands before and after handling raw flour or dough, and cleaning utensils and surfaces afterwards. If you suspect a food allergy, speak to your GP before trying the recipe.
Keep small dough pieces and hanging ribbons away from under-3s, following NHS advice on small objects and cords. Keep dough and decorations away from dogs too: Animal PoisonLine warns that their salt content can cause serious harm.
Can you fit the making into an afternoon?
Set aside a suggested 40 minutes for making and clearing up, with drying and decorating later. The seven stages below add up to that, but nobody needs to finish on a timer. Choose a single make if your child wants a shorter session.
1. Set out your workspace: 5 minutes
"Let's put everything where we can reach it." Cover the table, line the tray with baking paper and measure the ingredients into separate containers.
Let your child choose the cutter or sketch their idea while you organise. Put the water in something you can pour from slowly.
2. Bring the mixture together: 5 minutes
"Stir the flour and salt, then I'll pour while you mix." Add the water gradually, stopping when the mixture comes together.
You may not need it all. If the stirring becomes hard work, take over together rather than pouring in extra water just to make the spoon move.
3. Knead until smooth: 5 minutes
"Push it away, fold it back, and turn it." Work the dough on a lightly floured surface until it feels smooth and holds together.
If your child dislikes touching it, let them use a tool or choose the shapes. The Scouts suggest tools for children who prefer not to handle dough.
4. Roll it evenly: 5 minutes
"Let's make the middle as thin as the edges." Aim for roughly 5 mm for flat decorations, following the Scouts' rolling guidance.
For a handprint, leave enough dough beneath the impression rather than pressing through to the paper. Roll an extra test piece as thick as your largest make.
5. Choose your make: 10 minutes
"Which shall we make: a decoration, your handprint or your name?" Choose from these three ideas rather than attempting everything.
- Christmas decoration: cut a star, tree or circle. Press a pattern with a fork or spoon handle. Paint the details later.
- Handprint keepsake: press an open hand into a flattened oval, then lift it straight up. Trim around the impression, leaving a border. Add the name and date after drying.
- Name plaque: cut a rectangle with rounded corners. Press letters into it with a blunt tool, or leave it plain to paint the name later.
A squashed star can become a circle. Re-roll anything your child wants to change.
6. Add holes and move to the tray: 5 minutes
"Anything we're hanging needs a hole now." A grown-up can make it with a drinking straw, leaving dough between the hole and the edge.
Move the shapes onto the lined tray without stretching them. Make a simple tray sketch if siblings need to remember whose is whose.
7. Clear up and leave the shapes still: 5 minutes
"Now they need time, and we've finished the messy part." Wash hands, clean the table and put the tools away.
Leave the tray undisturbed while you choose a drying method. Sit together and look at the shapes before moving on. Painting can wait.
Is the oven quicker than air drying?
Yes. Oven drying takes hours; air drying takes days. Ovens vary, and thicker work takes longer, so use the clock as a reminder to check rather than a promise that everything will be ready.
- Oven, Setting and time: 100°C, around 3 to 4 hours; What to check: Hard underneath as well as on top
- Air drying, Setting and time: A warm, dry place, around 2 to 4 days; What to check: Turn pieces so both sides can dry
A grown-up handles the oven and hot tray, then leaves everything to cool out of reach, as the Scouts advise. For something to do while you wait, choose from our rainy day activities.
Why is the dough sticky, puffy or cracked?
Adjust the dough before shaping, and keep the oven low afterwards. For sticky dough, work in a little flour; for crumbly dough that cracks as you press it, add a little water. These are the Royal Horticultural Society's fixes, so make small adjustments before starting again.
For puffing in the oven, thinner shapes and a lower temperature can help. Give them longer rather than turning the heat up.
If a finished shape cracks, remake it or paint the crack into the design. If your child has lost interest, stop at a single decoration and return to the painting another day.
When can you paint and seal your salt dough?
Paint when the pieces are completely dry and cool. The Royal Horticultural Society suggests poster paint. Keep a paper copy of any name or date beside the tray, and let your child choose the colours. Leave the paint to dry before adding a finish.
White craft glue, often labelled polyvinyl acetate (PVA), or clear varnish can provide that finish, as in the Scouts' salt dough badges activity. A grown-up should handle varnish according to its label. Cover the front, back and edges, letting each side dry before turning it over.
How can you check a keepsake before wrapping it?
Use the spare test piece before you finish the handprint. Once it's cool, break it open and inspect the middle. If it's still soft, keep drying the batch. This gives you something expendable to check without snapping the piece you wanted to keep.
Only wrap once the dough, paint and finish are dry. Keep finished pieces indoors in a dry place. For another making session, browse our Christmas activities for younger children.
For a movement break once the table's cleared, explore Yogi-Me's pose mats, with 15 numbered poses laser-engraved into the surface.
Frequently asked questions
How long does salt dough take to dry?
Allow around 3 to 4 hours at 100°C, or 2 to 4 days air drying. These are estimates, not deadlines. Thick pieces need longer than thin ones, and both sides should be hard before you start decorating.
How do you seal salt dough?
Wait until the dough and paint are dry, then brush on white craft glue or clear varnish. The Scouts suggest either finish. Coat the back and edges too, leaving the hanging hole clear. Follow the product's instructions before handling or wrapping.
Can you paint salt dough before baking?
For this recipe, paint after drying and cooling. The Royal Horticultural Society uses poster paint on dried shapes. Painting is a separate session, so put the brushes away while you make the dough. If your child wants to choose colours straight away, sketch the design on paper.
Is salt dough safe for toddlers?
Salt dough is for supervised crafting, never eating. If your toddler still mouths craft materials, save this activity for later. The Food Standards Agency warns against eating raw flour or dough and recommends washing hands before and after handling it. Keep finished decorations out of reach.