guides
Junk Modelling: How to Set It Up and 12 Things to Make
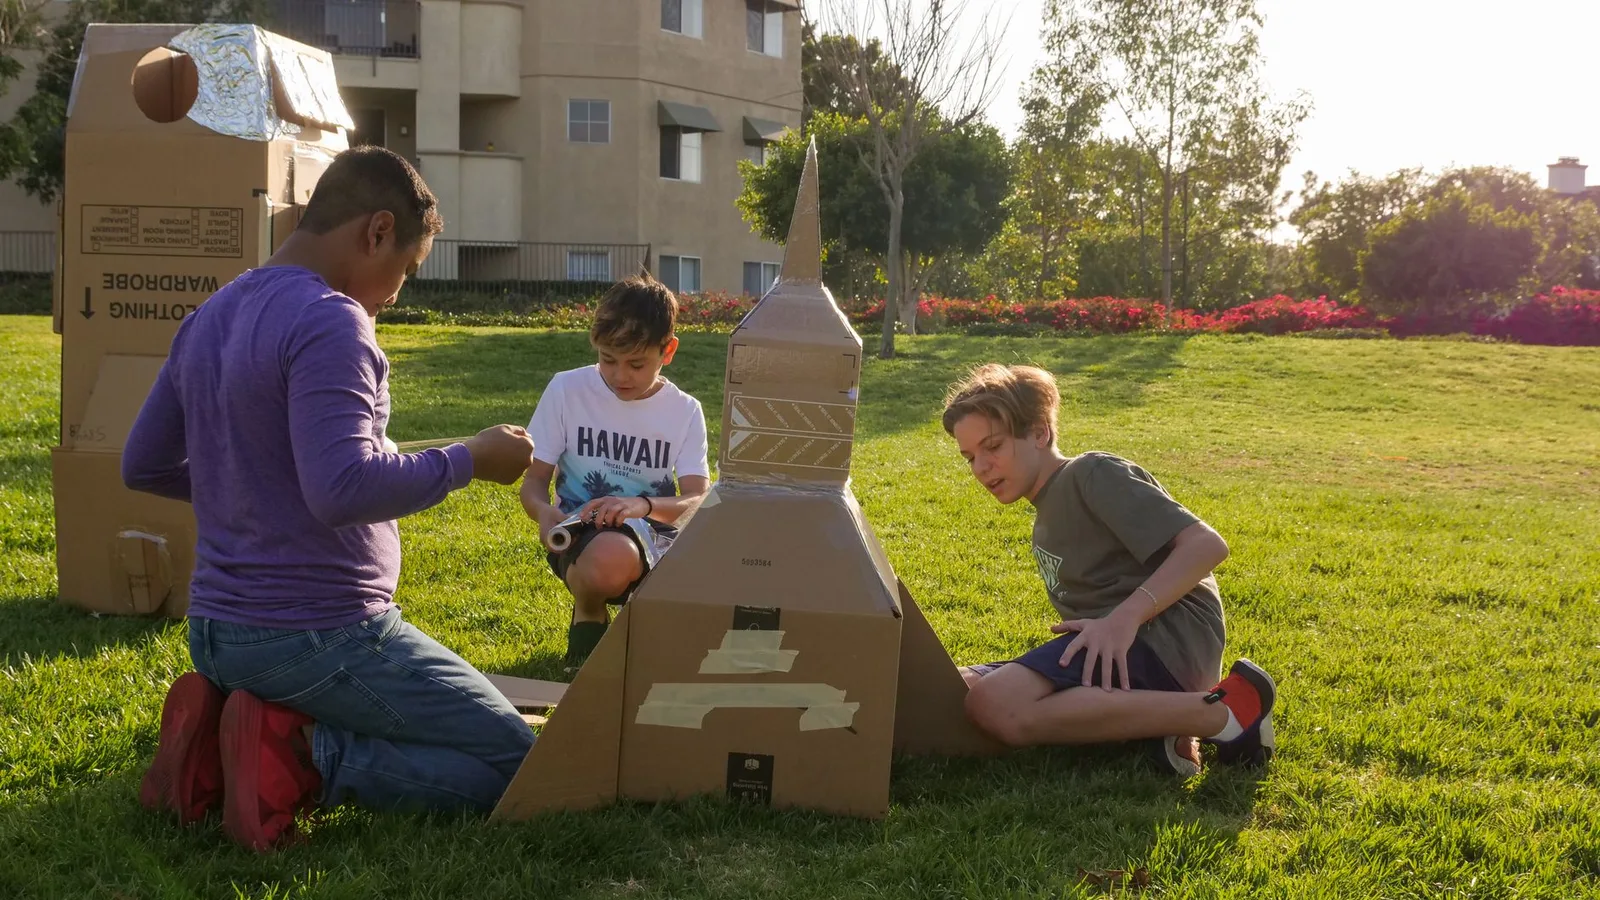
Set up junk modelling with boxes, tubes and tape, then try 12 things to make, with easy joining tips and room for your child to lead.
How do you start junk modelling at home?
To start junk modelling on a wet afternoon, put clean, dry boxes, cardboard tubes and scrap paper on a covered table with masking tape and glue. Let your child choose what to build, help with awkward joins, and leave room for the idea to change. A cereal box robot is a starting point, not a pattern to copy.
Junk modelling turns discarded materials into models. Keep a box with:
- Cereal boxes and small cardboard cartons.
- Kitchen roll tubes and spare card.
- Scrap paper.
- Masking tape, a glue stick and white craft glue.
- Colouring pencils, scissors and a table covering.
Check the materials before handing them over. If a child has food allergies, leave out packaging from foods they react to and check craft materials for allergens; see Allergy School's classroom guidance. Supervise scissors, as the Royal Air Force Museum advises. Keep small parts away from under-3s and children who mouth objects. Keep plastic bags, cords and ribbons out of the collection and out of children's reach: the NHS explains the choking, suffocation and strangulation risks.
Keep button batteries and magnets out of the collection. If you suspect a button battery or magnet has been swallowed, go straight to A&E, even without symptoms, following GOV.UK's battery and magnet advice.
Why do nurseries make things from packaging?
The point is exploring materials and ideas, rather than everybody producing the same rocket. Department for Education guidance encourages adults to give children time, space and materials without setting a fixed outcome. For example, one child might build a tower while another wraps a tube in paper.
This fits expressive arts and design within the Early Years Foundation Stage, or EYFS, which applies only to England. Our parent's guide to the EYFS areas of learning explains the wider picture.
Which glue and tape should you put out?
Start with masking tape for construction, a glue stick for paper decorations and white craft glue labelled for paper and card. The National Education Nature Park's materials guide recommends masking tape for model making because it can be torn by hand.
Try folding a flap on a cardboard piece before attaching it, so you're joining flat surfaces rather than balancing an edge against a box. Tape across the flap and test it. Follow your glue's drying instructions; there's no single drying time for every model.
What does a relaxed making session look like?
Use this suggested 40-minute plan when you've got an afternoon gap, including setting up and clearing away. It isn't a concentration target. Stop earlier, stretch the building time or leave the decorating for tomorrow. Put the materials out where you can sit alongside your child.
1. Choose the pieces: 5 minutes
Say, "Let's choose what you'd like to use," and put 2 boxes, 2 tubes and scrap paper on the covered table. Your child might want everything; let them pick a starting pile and leave the collection box nearby.
2. Find a starting idea: 3 minutes
Say, "You could start with a box or a tube," and let them handle the pieces before suggesting a make. They might already have a plan, or start joining things without one.
If they ask for ideas, offer a choice from the table below.
3. Try a join together: 5 minutes
Say, "Shall I hold this while you tape it?" and demonstrate a folded card tab on a spare piece. The tape might stick to itself; peel off another piece and have another go.
Offer ready-cut shapes if cutting is getting in the way.
4. Build the main shape: 15 minutes
Say, "I'll hold it while you decide where it goes," then follow their directions. A rocket might become a tower halfway through; let the plan change.
For a child who wants more challenge, suggest a door that opens or a roof that lifts off. Leave the details until the main pieces are joined.
5. Decorate and try it out: 7 minutes
Say, "What would you like to add?" and offer paper and pencils. They might want to draw controls everywhere or leave the cardboard bare.
If it's ready to handle, invite them to show you how it works. If glue still needs to dry, leave it supported and draw a sign for it instead.
6. Park it and pause: 5 minutes
Say, "Let's find your model a parking place," then return unused materials to the box and clear the table together. Your child may want to keep adding pieces; leave those beside the model for next time.
Finish sitting quietly together, looking at what they've made.
What can you make from boxes and tubes?
These twelve junk modelling ideas are starting points, not instructions to complete in order. Pick one that suits the packaging you've already got. Draw details instead of adding little loose decorations, and let your child change the design. Nothing needs to match a finished photograph.
- Rocket, What to start with: Tall box or tube; What to try: Add a paper cone and folded card fins.
- Robot, What to start with: Cereal box and smaller carton; What to try: Tape on a head and draw the controls.
- Castle, What to start with: Box and cardboard tubes; What to try: Add towers and draw a gate.
- Garage, What to start with: Box laid on its side; What to try: Make parking bays and a card ramp.
- Bus, What to start with: Long carton; What to try: Draw wheels, windows and passengers.
- Boat, What to start with: Shallow box; What to try: Add a folded card sail for pretend voyages.
- Dinosaur, What to start with: Box, card and scrap paper; What to try: Add a tail and folded paper spikes.
- Space station, What to start with: Boxes and tubes; What to try: Join rooms with cardboard tunnels.
- Animal home, What to start with: Open box; What to try: Add paper bedding and a shelter.
- Puppet theatre, What to start with: Open box on its side; What to try: Make standing paper characters for the stage.
- Camera, What to start with: Small box and short tube; What to try: Attach the tube as a pretend lens.
- Treasure chest, What to start with: Box with a hinged lid; What to try: Decorate it and make a card key.
What if it wobbles or nobody wants to finish?
Try a wider base for a wobbling tower, or swap a heavy top piece for card. If an arm keeps dropping, fold a tab or wrap tape around the join. Ask which repair your child would like to try first.
If they only want to stick paper to the box, leave it there. If they're finished, they're finished. Put the model aside. For a change of activity, keep our rainy day ideas for home handy.
Where does everything go until next time?
Give unfinished work a tray and finished models an agreed display space. Keep the materials collection to a box you can actually store, rather than saving every carton. Before clearing a model away, ask whether your child wants to keep it, change it or photograph it.
After a gap, bring out the box again without setting a bigger project.
For movement after the making, browse the Yogi-Me mats. Each has 15 numbered poses laser-engraved into the surface, for ages 3 to 8. Keep the glue and scissors at the table.
Frequently asked questions
What is junk modelling?
Junk modelling is making models from packaging and other materials that would otherwise be thrown away. A box might become a robot, a garage or something with no name yet. Your child chooses how to combine the pieces, with you helping when a join needs another pair of hands.
What do you need for junk modelling?
Start with clean, dry cardboard boxes, tubes, scrap paper, masking tape and colouring pencils. Add a glue stick or white craft glue, plus scissors for supervised cutting. You don't need a craft kit: put out a small selection and keep the rest for another day.
How do you stop junk models falling apart?
Try changing the join before adding more glue. Fold a card tab and tape it to a broad surface. For a tall model, try a wider base or a lighter top. Leave glued models supported while they dry, following the instructions on the label.
Does a junk model have to look like something?
No. Your child can wrap, stack and join without naming the result. Offer an idea if they ask, but let them describe their creation. Notice something specific, such as a long strip they've added, and leave space for them to explain.