guides
How to Make Cloud Dough and Moon Sand (2 Ingredients)
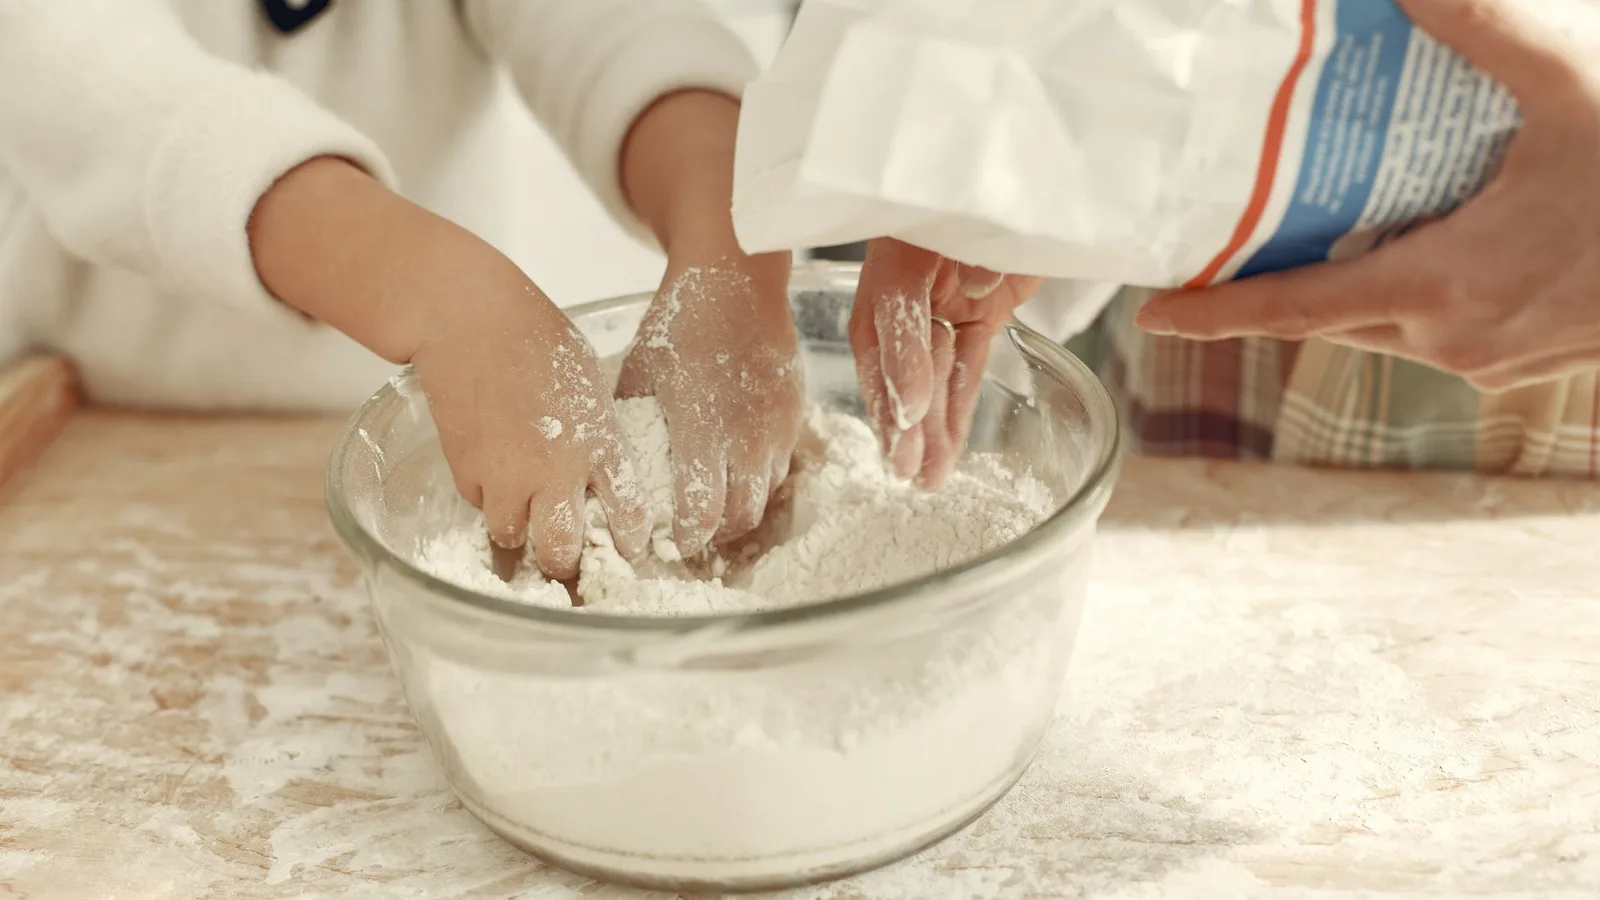
Make cloud dough with flour and oil: clear quantities for a bowl or tuff tray, the flour safety check that matters, and tips to contain the mess.
How do you make the flour-and-oil version?
Make cloud dough by mixing 8 parts flour with 1 part cooking oil, measured by volume. For children's play, choose flour explicitly labelled ready to eat, following the Food Standards Agency's guidance. On a wet afternoon, tip it into a wide tray for scooping, squeezing and making crumbly castles. This is the sand-like flour-and-oil recipe, also called homemade moon sand.
The City of London's recipe sheet lists flour-and-oil cloud dough separately from cornflour-and-conditioner moon dough. Check the ingredients before choosing a recipe: those mixtures aren't interchangeable.
Does the flour need heat-treating?
Use commercially heat-treated flour labelled ready to eat. Ordinary raw flour can contain harmful bacteria, and the Food Standards Agency (FSA) says home heating may reduce the risk but isn't guaranteed to remove all harmful bacteria. Follow the packaging rather than relying on a microwave or oven shortcut.
The FSA guidance covers England, Wales and Northern Ireland; Scottish Government guidance also warns against children eating raw flour. Without suitable flour, pick another rainy-day activity.
Stay alongside your child and keep dough out of mouths. Leave out beads and tiny toys, especially with under-3s nearby: the NHS explains their choking risk. Check both ingredients for known allergens; if you suspect a food allergy, speak to your GP or health visitor before trying this activity.
How much cloud dough goes in a tuff tray?
Start with 2 litres of flour and 250 ml of cooking oil for a central pile in a tuff tray. That's a suggested starting batch, not a promise to fill every tray. For a smaller bowl, halve it. These are volume measurements, including the flour.
- Smaller batch: 1 litre flour and 125 ml cooking oil.
- Tuff tray starting batch: 2 litres flour and 250 ml cooking oil.
Both use the 8:1 flour-to-oil proportion; Clear Sky's recipe allows cooking oil. Use the ready-to-eat flour described above. You'll also need a mixing bowl, spoon, measuring jug, play tray and washable floor covering.
What do you do once the ingredients are ready?
Try the seven-step running order below, allowing 20 minutes altogether. That's a suggested plan for setting up, mixing, playing and clearing away, with a quiet finish. You can spend longer building, or stop after the first castle. The timings are a guide, not a target.
1. Set the boundary: 2 minutes
Say, "The dough stays in this tray," and set it on a washable covering over a wipeable floor; Clear Sky suggests a tray and splash mat. Start with hands washed with soap and water. If your child wants the sitting-room carpet, offer a choice of pots to use at the kitchen table instead.
2. Measure into the bowl: 2 minutes
Say, "You scoop the flour and I'll measure the oil," using the quantities above and levelling each flour measure without packing it down. If scooping becomes the whole game, let that be their job while you keep track; there's no need to hurry them towards the finished mixture.
3. Mix, then squeeze: 3 minutes
Say, "Stir down to the bottom, then squeeze a handful," and work the oil through with a spoon and your fingertips. The texture should hold when compressed but still crumble. If it falls straight through your child's fingers, mix the dry patches through before adding anything.
4. Build and knock down: 5 minutes
Say, "Press some into this pot, turn it over and lift," using a wide plastic cup or small bowl as a mould. If your child immediately flattens the result, invite them to make another; the invitation is to build and crumble, with no finished model to keep.
5. Make a last handprint: 1 minute
Say, "Let's leave a handprint before we finish," and flatten a patch with the back of a spoon. If your child prefers tracks or spoon marks, follow their idea, then put the tools down together and take a look at the marks before you clear them away.
6. Clear the tray: 6 minutes
Say, "You collect the pots and I'll scoop," keeping loose crumbs on the covering while you clear the bowl. If your child carries on playing, give them the job of holding the empty container. Wash hands with soap and water, and clean utensils and surfaces afterwards, and finish cleaning before anyone leaves the play area.
7. Finish with a quiet look: 1 minute
Say, "Hands in our laps, let's look out of the window," and sit together after the clearing-up. If a minute feels too long, a brief pause will do; there's no need for closed eyes or special breathing. Let that still moment mark the end of the activity.
When is it worth getting the tray out?
Choose a moment when you can sit alongside your child and leave time for the clear-up. A wet afternoon works; the minutes before you need to leave the house are less useful. The suggested 20 minutes includes packing away, so don't spend the whole slot making castles.
Short on time? Make the small batch and skip the moulds. Scooping and squeezing can be the whole activity.
What if the dough or the afternoon goes wrong?
Fix the mixture before adding more equipment. It should be loose between your fingers and hold together when pressed, like Sense's moon sand. If your child doesn't want to touch it, offer a spoon or put it away. You don't need to persuade them.
- Too powdery: mix thoroughly, then work in a little more oil.
- Too greasy: add a little more prepared flour and mix again.
- Mess spreading: bring the bowl into the centre of the tray and remove spare pots.
If nobody wants messy play, our quiet time activities offer other things to try.
What should you keep ready for next time?
Keep the empty tray, measuring jug, spoon and moulds together, with the quantities written on a card. Put them away once they're clean and dry. Next time, start with the same simple invitation: scoop, squeeze, build. You can change the game without adding more ingredients.
For movement after the tray is packed away, explore Yogi-Me mats. Each has 15 numbered poses laser-engraved into the surface, for ages 3 to 8.
Frequently asked questions
Is cloud dough the same as moon sand?
For flour-and-oil recipes, yes: both names describe a crumbly mixture you can squeeze into shapes. The names aren't used consistently, though, so check the ingredients. Cornflour and conditioner make a different mixture. This guide makes the sand-like version for scooping, pressing into pots and crumbling apart again.
Can I make cloud dough without baby oil?
Yes. Cooking oil works in the recipe here; you don't need baby oil or conditioner. Measure the oil by volume and mix it through thoroughly before judging the texture. Leave out scent and colour for your first batch so there are fewer ingredients to organise.
Why is my cloud dough too crumbly?
It's meant to fall apart when you loosen it, but a squeezed handful should hold its shape. First mix again, reaching the dry flour at the bottom of the bowl. If it still won't hold, work in a little more oil. If it turns greasy, add a little more of your prepared flour.
How long does homemade cloud dough last?
Sense suggests a few weeks in an airtight container, but that isn't a guaranteed safe shelf life. Discard the mixture if it gets dirty, and label any saved batch as play material. For an occasional activity, you can simply make a small batch and start fresh next time.
Sources
- Food Standards Agency: Handling flour and flour products safely
- Scottish Government: Setting the Table Guidance
- City of London: Developing children's creative imaginings
- Clear Sky Children's Charity: Parent resource
- Sense: How to make sensory moon sand
- NHS: How to stop a child from choking
- NHS: Food allergies in babies and young children