guides
20 Autumn Crafts for Kids With Leaves and Conkers
Try 20 autumn crafts with leaves, conkers and pine cones, sorted by age, with a short walk checklist and paper swaps for wet days.
Which autumn crafts should you try first?
Easy autumn crafts include leaf rubbings, leaf printing, conker snails and pine cone owls. Start with whatever you've already collected and choose a project that suits today's appetite for mess. These 20 ideas are grouped by suggested ages from 3 to 8, with paper alternatives when you can't get outside or find what you need.
Use the age groups as a starting point and pick freely across them. Set out paper, scrap card, crayons, children's paint, a brush, craft glue and tape; add modelling dough for the creatures. A grown-up can prepare the cut-out card pieces.
Check craft materials for allergens. Modelling dough can contain wheat: check the ingredients with the manufacturer and choose dough that avoids your child's allergens. If your child has a food allergy, use card that hasn't held food instead of cereal packaging, which may carry allergen residues.
What should you bring home from an autumn walk?
Choose your craft before the walk, then collect only what it needs: a few flat fallen leaves for pictures, a conker for a snail, or a pine cone for an owl. Take a small container and make the rest a spotting game using our ready-made scavenger hunt ideas.
Collect in your garden or where the landowner permits it. The Countryside Code for England and Wales asks visitors to avoid damaging plants and disturbing wildlife; Scotland and Northern Ireland have separate codes. The Woodland Trust advises taking only a small amount and leaving plenty behind.
Back home, pat wet leaves dry. The Royal Horticultural Society's leaf guide explains pressing leaves between newspaper under a heavy book and recommends washing hands after collecting.
Keep small finds away from little mouths. Keep conkers, acorns and loose decorations out of reach of under-3s and any child who puts objects in their mouth, following the NHS advice on small-object choking risks. Stay alongside children while crafting and put small materials away afterwards. Conkers mustn't be eaten. Draw eyes instead of adding buttons or googly eyes.
Where can 3 and 4 year olds start?
Start here for pictures made by rubbing, pressing, tearing or arranging. Offer the main material first and add extras if your child asks. You can hold a leaf steady or draw an outline, then hand the choice of colours and arrangement back to them.
1. Leaf rubbings
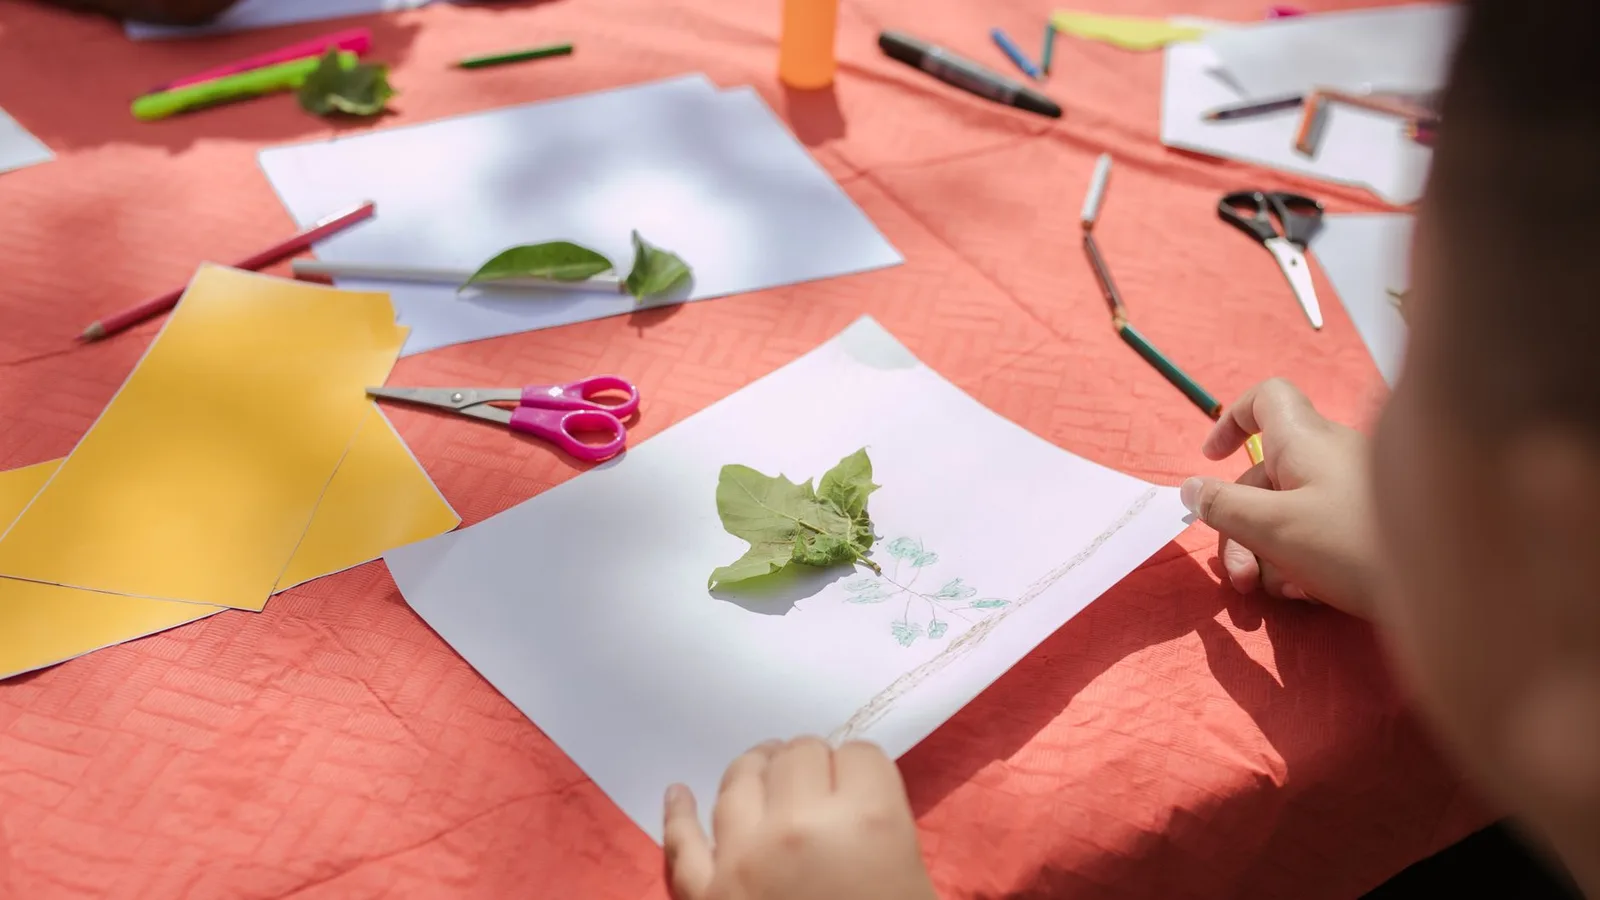
Put a leaf beneath thin paper, with its raised veins facing upwards. Say, "Rub the side of your crayon across and see what appears." This follows the Woodland Trust's rubbing method. Hold the paper still while your child tries a different colour over the same leaf.
2. Leaf printing
Brush a thin layer of paint onto the veined underside of a leaf. "Press it down, pat it, then lift." The Royal Horticultural Society describes this printing technique. Repeat across the page, leaving space between prints so your child can see each outline.
3. A leafy hedgehog
Draw a rounded body with a pointed nose on card. "Choose some leaves for its prickly coat." Arrange narrow leaves with their tips pointing outwards, then glue them down and draw an eye. Try the arrangement without glue first, so changing the hedgehog's shape is easy.
4. A torn-paper autumn tree
Draw a trunk and branches on scrap paper. "Tear some red, yellow and brown leaves for your tree." Glue the pieces around the branches and scatter a few beneath them. This is the option to choose when the walk didn't happen or the collected leaves are still wet.
5. Leaf hairstyles
Draw a large face, leaving plenty of room above it. "Give this person a leafy haircut." Arrange leaves above the face as a fringe, curls or a towering hairstyle. Leave it unglued if your child wants to keep changing the hair and making different expressions.
6. A leaf butterfly
Draw a body down the middle of a page. "Choose a wing for this side and another for that side." Glue leaves beside the body, then draw antennae and a background. Matching leaves are optional; your child can make a butterfly with completely different wings.
What can 5 and 6 year olds build?
Try these when your child fancies making an object as well as a picture. Put the dough creatures on scrap card so you can move them together. For paper projects, prepare the base first, then let your child decide what belongs on it and where.
7. A conker snail
Roll a short, thick sausage of modelling dough and flatten its underside onto card. "Give your snail a conker shell." Press a conker into the back and curl the dough's front upwards for its head. Draw a leafy trail on the card for it to follow.
8. A conker monster
Sit a conker in a dough base so it doesn't roll. "What sort of face does your monster need?" Draw a face on paper, attach it with craft glue and add folded paper feet. A huge mouth or mismatched eyes can do the work of extra decorations.
9. Rolling conker art
Line a shallow box with paper and add small blobs of paint. "Tilt the box and send the conker travelling." The Woodland Trust suggests conker painting this way. Keep the box on the table and turn it gently to send the tracks in different directions.
10. A pine cone owl
Press a pine cone upright into a dough base. "Let's give your owl a face and wings." Draw eyes and a beak on a card face, then attach it and paper wings with blobs of dough. Give the owl a name on its cardboard stand.
11. A pine cone hedgehog
Lay a pine cone on its side on card. "Which end will be its nose?" Shape a dough face against that end, pinching the front into a snout. Use a pencil tip to mark eyes in the dough, then draw a woodland path around the creature.
12. Dough leaf tiles
Flatten modelling dough into a thick tile. "Press your leaf in, then peel it away." Try the raised-vein side against the dough and compare the mark with the leaf. Smooth the tile and repeat, or keep the design on a tray while you make another.
13. A leaf crown
Use a strip of card long enough to go around your child's head. "Choose the leaves for your crown." Attach them along the strip with tape, then tape the ends together. Paper leaves work too, especially if your child wants to draw patterns across the crown.
14. A leafy picture frame
Draw a rectangle on card, leaving a wide border. "Make a leafy frame around this space." Glue leaves around the outside and draw a picture in the middle. You can frame a drawing of the walk, a woodland creature or an entirely imaginary autumn scene.
Which projects offer more choices for ages 7 and 8?
Offer these when your child wants a project to plan, rearrange or turn into a game. Lay out the materials and explain the starting idea, then let them change it. The finished piece might become something to play with, display or give to someone else.
15. A half-leaf drawing
Cut a leaf along its central vein and glue a half onto paper. "Can you draw the missing side?" Follow the outline, add the veins and choose colours. Alternatively, turn the missing half into something invented, such as a wing, rather than copying the original.
16. Leaf silhouette art
Hold a flat leaf against paper. "Brush colour outwards from its edges." Use a lightly loaded brush and work around the outline before lifting the leaf away. Try another leaf elsewhere on the page, or leave the blank shape as the centre of the picture.
17. A pine cone woodland
Use a shallow box as a landscape and stand pine cones in dough bases as trees. "Where will the path go?" Add paper paths, a folded-card bridge and drawn animals. Keep the pieces loose so the woodland can be rearranged for different stories afterwards.
18. Conker noughts and crosses
Paint noughts on 5 conkers and crosses on another 5, then let them dry. "Let's make the board too." Draw a grid of 3 rows and 3 columns on card. Use folded paper counters if you haven't collected enough conkers, then play on your homemade set.
19. A concertina walk book
Fold a strip of paper back and forth into 4 panels. "What did we notice along the way?" Draw a different part of the walk on each panel, adding a leaf outline or rubbing where you like. Stand the finished book up to show the whole route.
20. A woven paper leaf
Have a grown-up fold a large paper leaf shape lengthways and cut slots from the fold, stopping before the outer edge. Open it flat. "Weave a strip over, under, over, under." Use broad strips of autumn-coloured paper. Start the next strip under, then over, and reverse the starting pattern with each new strip. Slide the strips gently together and tape their ends behind the leaf.
How can one collection fill an afternoon?
Use the same finds in a short sequence rather than preparing several unrelated projects. Begin with something you can rearrange, then decide whether to keep it or use the materials again. These combinations are invitations, with no need to finish every stage or fill a set amount of time.
- Leaves and crayons: make rubbings, arrange the leaves as hairstyles, then choose a design to glue. The rubbing can become the cover of a walk book.
- A woodland on a tray: make a conker snail and a pine cone owl, then draw a shared landscape beneath them. Move the animals around and invent their route home.
- A paper-only afternoon: tear leaves for a tree, use leftover paper for a picture frame, then draw a woodland scene inside it.
For something active alongside the making, try our autumn activities for nursery and Reception ages.
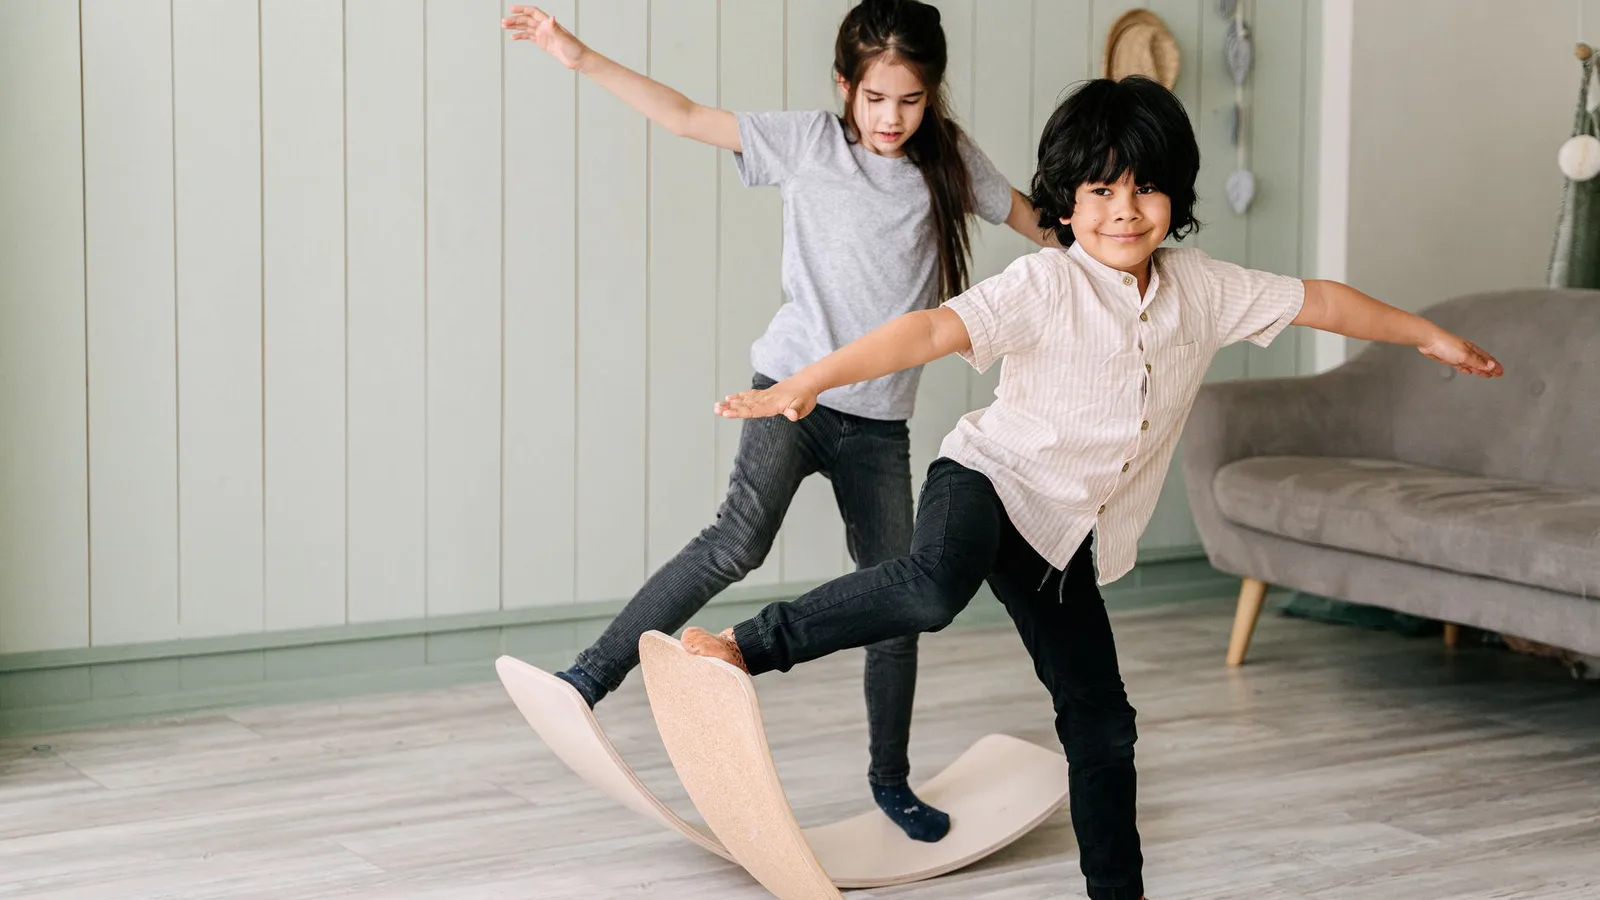
When the craft tray is packed away, you could continue the woodland theme with animal poses. Yogi-Me mats have 15 numbered poses laser-engraved into the surface. Explore the mats for your indoor movement sessions.
What if the collecting is the only bit they enjoy?
Let the walk be enough. Offer to put the finds aside, or leave a sheet of paper and crayons ready for later. You don't need to turn the collection into a finished object, and there's no need to keep suggesting projects once your child has lost interest.
If they'd rather arrange than stick, offer a blank tray. If they dislike paint on their hands, choose crayons. If they want company without being watched, make your own picture alongside them instead of directing theirs.
Ask what they'd like to do with the materials, then leave room for their answer. A leaf collection can remain a leaf collection.
Frequently asked questions
What are easy autumn crafts for preschoolers?
Start with leaf rubbings, leaf printing or a torn-paper autumn tree. Put out the materials for just that activity, and let your child choose the colours. You can hold the paper or prepare the shapes while they make the picture. It doesn't need to look like an adult's example.
What autumn craft can you do in five minutes?
For a five-minute session, choose a leaf rubbing or draw a face and arrange leaves as its hair. Have the paper and crayons ready before you begin. Treat the five minutes as time to have a go, rather than a deadline for a finished picture. Leave painting for a less hurried moment.
Can you make autumn crafts without real leaves?
Yes. Tear leaf shapes from coloured paper, draw around a leaf you've already collected, or invent your own shapes. Use them for the tree, hedgehog, butterfly or picture frame. Brown wrapping paper and the plain inside of a cereal box work too, with crayons providing the autumn colours.
What can you make with conkers without drilling them?
Try a dough snail with a conker shell, a monster with a paper face, or a noughts and crosses set with painted symbols. You can also roll a conker through paint inside a box. None of these projects needs a hole through the conker or string threaded through it.
Sources
- NHS: How to stop a child from choking
- GOV.UK: The Countryside Code for England and Wales
- Woodland Trust: When pine cones fall and ways to use them
- Woodland Trust: Can you eat conkers?
- Woodland Trust: Autumn leaf crafts
- Woodland Trust: Conker crafts and activities
- Royal Horticultural Society: Animal leaf pictures and pressing leaves
- Royal Horticultural Society: Autumn activities for kids