guides
How to Make Paper Snowflakes: Fold, Cut, Unfold
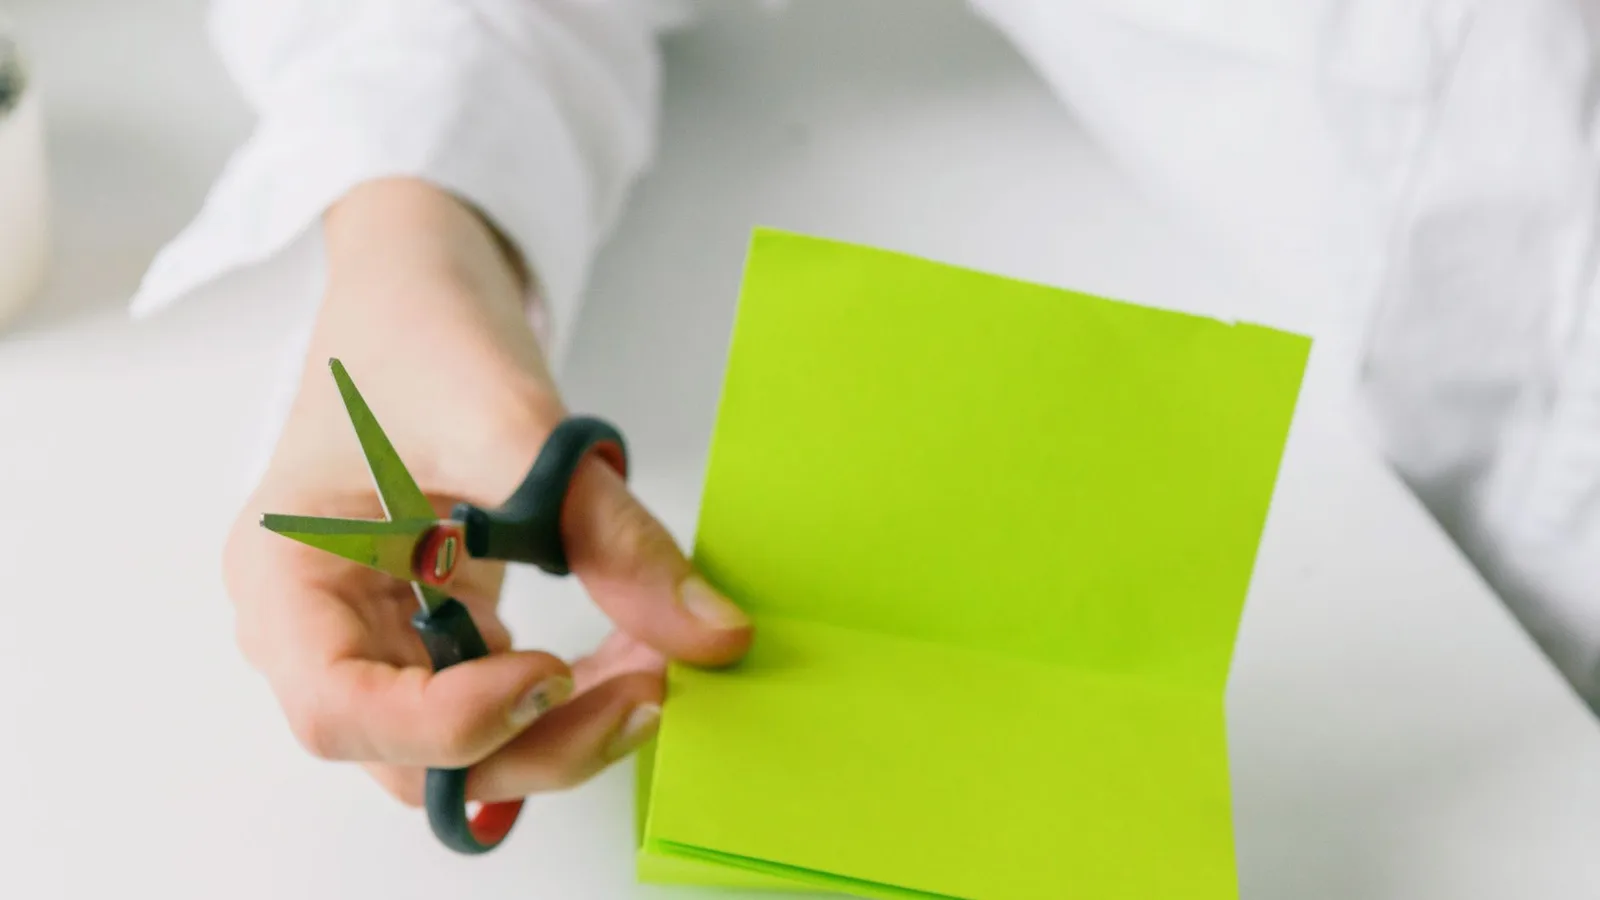
Learn how to make paper snowflakes with a clear six-point fold, four cutting patterns and practical help for crafting with children.
How do you make a paper snowflake with six points?
To make paper snowflakes, fold a square diagonally in half, then in half again. Fold the smaller triangle into thirds around its central corner, trim the uneven top, cut shapes from the edges and unfold gently. The thirds fold gives you the sixfold pattern: the Natural History Museum's folding guide shows the sequence.
For a dark afternoon with the kitchen table free, plan a little making session around that final reveal. Start with a simple snowflake, then let your child choose whether to try something lacier.
What should you put on the table?
Set out ordinary paper, a pencil, scissors and a bowl for the offcuts. Use a sheet per snowflake, with a spare for practising the fold. Choose a moment when you can sit alongside your child and leave the paper spread out until you've finished cutting.
Stay beside your seated child while they cut. Use short-bladed, round-ended scissors suited to their cutting hand, including left-handed scissors where needed, following NHS scissor guidance. With under-threes nearby, collect tiny scraps as you go and leave small decorations out: the Child Accident Prevention Trust warns about choking on small objects.
Which folds and cuts make the snowflake?
Follow these seven steps, keeping the centre point in the same place as you fold. The timings are a suggested 20-minute plan, including choosing a pattern and opening it out. You can do the fiddly folds while your child presses the creases and chooses the cuts.
1. Turn the paper into a square: 2 minutes
"Bring a corner across until the edges meet, then we'll cut away the spare strip."
With rectangular paper, fold a short edge onto the neighbouring long edge. Cut off the rectangle left outside the triangle. Open it to check the square. A grown-up can prepare this before you start.
2. Make the smaller triangle: 2 minutes
"Fold corner to corner, then bring the triangle's matching sharp corners together."
Fold the square diagonally, then halve the triangle. Turn this smaller triangle so its longest edge is across the top and its right-angle corner points towards you. Mark that bottom corner with a pencil dot: it's the snowflake's centre.
3. Fold that corner into thirds: 4 minutes
"Imagine a fan with three equal sections, all meeting at our dot."
Fold the left section across the middle, then the right section over it. Both creases must start at the dot. Adjust until the long folded edges line up, then press. You're dividing the corner's angle, not measuring thirds across the top edge. If judging the thirds is difficult, use the museum's blank template and illustrated instructions.
4. Trim the uneven end: 2 minutes
"Keep the centre point and snip off the uneven tails at the other end."
Cut across below the lowest loose edge, on a slant, leaving one folded side longer than the other. You should have a narrow triangle with all its layers reaching the cut edge. Keep the bottom point intact.
5. Choose a cutting pattern: 2 minutes
"Draw the little pieces you want to take away."
Try one of these four starting patterns. Draw from an edge rather than making holes through the middle.
- Triangle bites, easiest, What to draw: A small V on each folded side.
- Round windows, What to draw: Shallow semicircles spaced along the folded sides.
- Diamond windows, What to draw: Deeper V shapes, with broad gaps between them.
- Lacy branches, What to draw: Alternating narrow V shapes and rectangular notches.
6. Cut out the shapes: 6 minutes
"Cut out the pencil shapes, leaving paper between them."
Keep some of each folded edge joined, and don't cut right across the wedge. For the lacy version, stagger cuts on opposite sides so they don't meet. Your child can choose where you cut if the bundle is too thick for them.
7. Open it and have a look: 2 minutes
"Let's open it slowly and see what our cuts became."
Separate the layers gently, easing any caught pieces apart. Lay it flat and smooth it with your hands. Finish by sitting together and finding a shape that repeats around the snowflake, with the scissors put down.
Why do snowflakes have six sides?
The familiar six-armed snow crystal gets its shape from the way water molecules join together in ice. They form a hexagonal structure, which means six-sided, as the Met Office explains. Your paper version borrows that pattern, with a cut repeated around the centre.
Try saying: "The tiny building blocks of ice fit together in a six-sided pattern." Then count the main points together. If actual snow arrives, keep our indoor and outdoor snow day activities for afterwards.
How much time should you leave for making?
Allow about 20 minutes for the suggested session: 10 for preparing and folding, 2 for choosing a pattern, 6 for cutting and 2 for opening and looking. Those are planning allowances, not a finish-by time. Spend longer on the thirds fold if it needs another go.
If time is short, prepare the folded wedge yourself and let your child choose a few cuts. Stop after the reveal.
What if it tears, won't cut or looks uneven?
Check the paper and folds before starting again. A torn snowflake can become a collage piece, and an uneven one can still go on display. Use the table to change just the part that caused trouble, rather than making your child repeat the whole session.
- The snowflake falls into pieces, What to try: Leave more uncut paper along both folded sides.
- The pattern is uneven, What to try: Reopen to the smaller triangle and align the thirds before creasing.
- The scissors squash the paper, What to try: Try thinner paper or let a grown-up cut the folded bundle.
- Your child doesn't want to cut, What to try: Let them draw the shapes and be in charge of the reveal.
The Natural History Museum recommends keeping designs simple and leaving enough paper connected. If cutting becomes a battle, put the folded paper aside and finish another afternoon.
How can you keep the idea ready for next time?
Save a folded example alongside a little stack of paper squares, so you can restart without remembering every crease. Leave the example uncut and draw the fold lines on it. Next time, change just the cutting pattern and compare the result with the snowflake you kept.
Try NRICH's cut-and-predict challenge: choose a pattern, guess which cuts will make it, then unfold to check. Keep the finished flakes in a folder between uses. For another afternoon's plan, browse our winter activities for wet and chilly days.
Once the paper and scissors are cleared away, you could follow craft time with movement. Explore Yogi-Me's mats for your next indoor activity, with 15 numbered poses laser-engraved into the surface.
Frequently asked questions
What paper should you use for paper snowflakes?
Choose ordinary printer paper for your first snowflake, or use a clean sheet from the scrap pile. Cut it square before folding. Put card aside for this activity and start with simple cuts. Once you're happy with the fold, experiment with thinner paper and more detailed patterns.
Why does my paper snowflake have eight points?
Check both the folds and the shape cut at the outer end. For the six-point method, start again with a fresh square, fold it diagonally twice, then divide the smaller triangle's bottom corner into three equal wedges. Line up the folded sides before cutting. Keep the first snowflake too: it can still go on the window.
Can young children join in without using scissors?
Yes. Let your child choose the paper, press the folds, draw the cutting shapes and open the finished snowflake while you do the cutting. They can also colour a finished flake or choose where to display it. You don't need to hand over the scissors for it to be their creation.
How do you flatten paper snowflakes?
Open the folds gently, easing apart any sections that catch. Lay the snowflake between clean sheets of paper and put a heavy book on top. Leave it there while you tidy up, then check it. If it still curls, leave it longer rather than pulling at the delicate edges.