guides
How to Make a Paper Aeroplane: 5 Designs That Fly
Learn how to make a paper aeroplane with five folding designs, a fair flight test and a hallway competition using paper you already have.
How do you turn a sheet of paper into a plane?
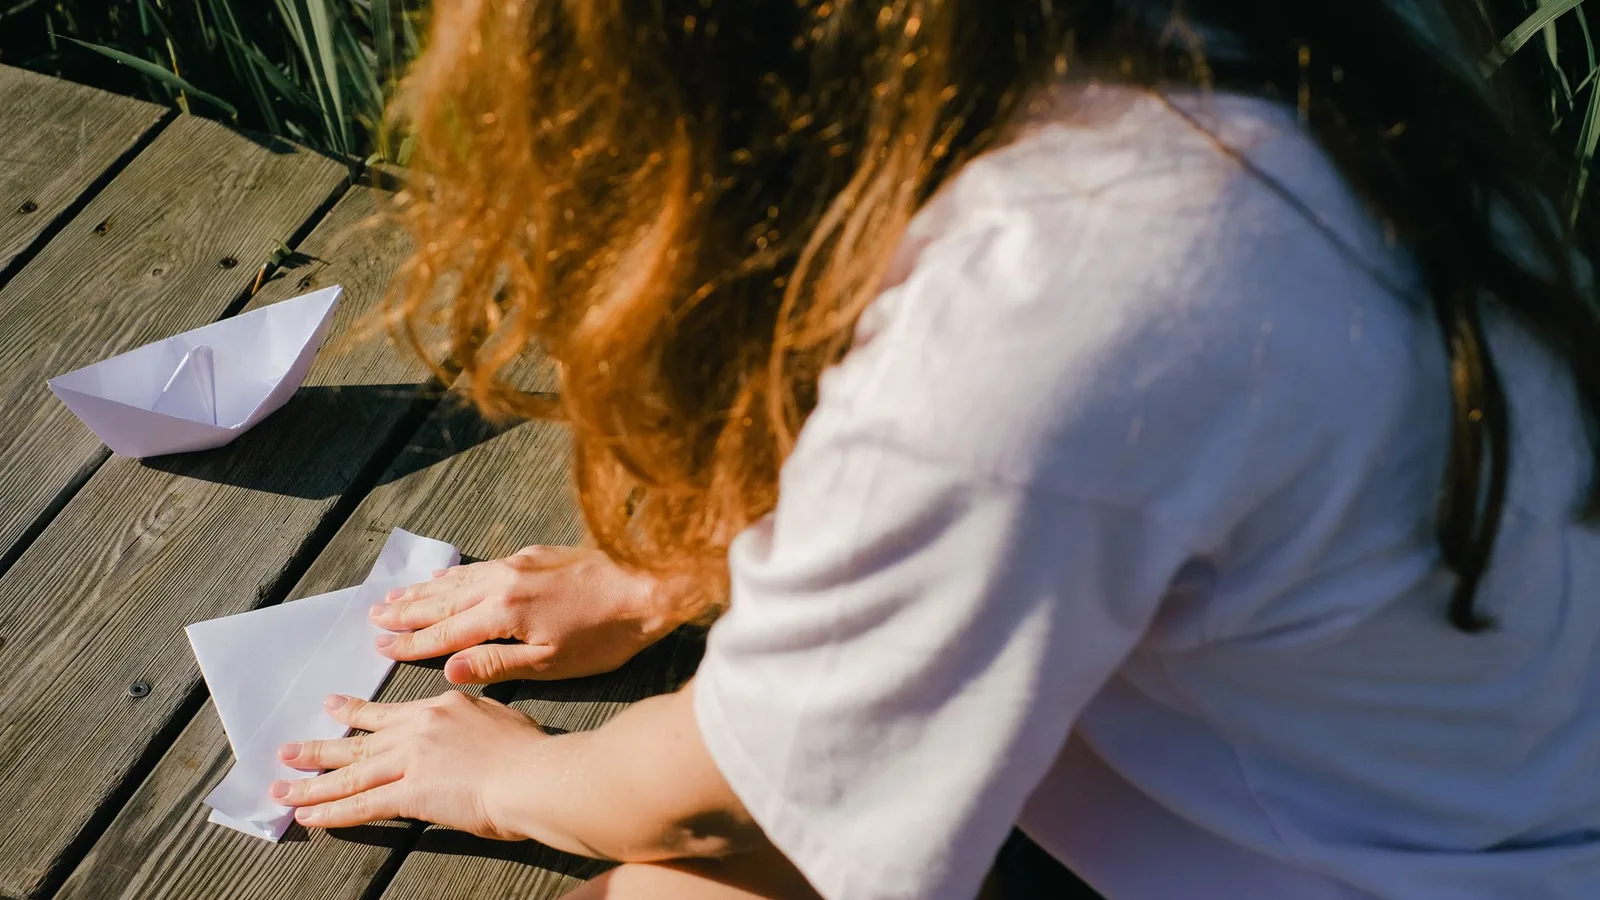
To make a paper aeroplane, fold an A4 sheet lengthways and reopen it. Bring the top corners to the centre, then fold the sloping edges in again. Fold the whole thing in half and turn down matching wings. That's the classic dart, a starting point when rain has cancelled the afternoon's plans.
The Scouts' folding sheet shows that sequence. Make a fleet, test a change and hold a hallway competition.
What should you put on the kitchen table?
Gather five sheets of A4 paper, a ruler, a pencil and sticky tape for the ring flyer. Use the same paper for each design. You won't need scissors, glue or paper clips for these versions, and there's no template to print before you can begin.
Fold on a table. When flying, keep everyone behind the launch line. Wait until everyone has finished throwing before collecting planes, following the Scouts' flying activity.
Keep this alongside your other screen-free activities for home.
Ready to fold, test and fly?
Start with the dart, then try the broader shapes and the ring. If your child wants to fly after the first plane, go straight to the testing and competition.
1. Fold the classic dart
Start with a short edge at the top.
- Bring the long edges together, crease and reopen.
- Fold both top corners to the centre crease.
- Bring the new sloping edges to the centre again.
- Fold lengthways, keeping those folded layers inside.
- Fold each sloping wing edge down to the body's lower edge.
- Lift the wings until they spread out evenly. Hold the fold underneath.
Use the Scouts' diagram above if you lose track of which edge moves.
2. Make the wide dart
This version follows the Royal Air Force Museum's simple dart.
- Crease a fresh sheet lengthways and open it.
- Bring both upper corners to the middle crease.
- Fold the sheet in half with the corner flaps outside.
- Bring each sloping edge down to the bottom edge.
- Open the wings evenly, leaving the central fold as your handle.
Compare it with the first plane: you've left out the second inward fold.
3. Try the locking glider
The Fold and Fly handout shows the locking triangle.
- Crease an A4 sheet lengthways, reopen, then bring the top corners to that crease.
- Fold the whole triangle down along its base, making an envelope shape.
- Bring the new top corners to the centre, meeting about 2.5 cm above the downward tip.
- Fold that exposed tip upwards over the flaps.
- Fold in half with the little triangle outside. Fold both wings to the lower edge and open them.
4. Add a wide-winged glider
Use the broader glider instructions, leaving out the tail cuts.
- Crease a fresh A4 sheet lengthways and reopen it. Fold both top corners to the centre crease.
- Bring the top point down to 2 cm above the bottom edge.
- Bring the upper corners to the centre. Fold the exposed lower triangle up over them.
- Fold in half, triangle outside. Fold each wing down, leaving a body 2.5 cm deep.
- Turn the outer 1 cm of each wing upwards, then open the wings.
5. Roll a ring flyer
This ring flyer method uses folded paper curled into a tube.
- Fold an A4 sheet in half.
- Turn the creased edge over by about 1.5 cm.
- Fold that strip over three more times, pressing it flat.
- Curl the paper into a ring, thick folds on the inside.
- Overlap roughly a third of the sheet, tuck an end into the folds and tape the join.
Launch with the thick rim facing forwards. Let your child give this unusual aircraft a name.
6. Change a fold and compare
Use the classic dart for this test. Make three gentle launches from the same place, measuring to the first landing, not wherever it slides.
Next, bend the back edges of both wings slightly upwards and repeat. Keep the person throwing, launch height and throwing action alike. Record each distance, then flatten the edges and repeat to check whether the original flight pattern returns.
The Scouts suggest testing raised rear flaps, which can make a plane slow or stall. Did yours travel further, less far or differently? A shorter flight is a result too.
7. Hold the hallway fly-off
Give each person three turns with their chosen plane. Measure from the starting line to the first landing; the longest flight wins. A grown-up can launch everyone's planes if you want to compare the designs rather than the throwers.
If planes reach the far wall, switch to landing nearest a chosen floor tile.
8. Park the fleet
Lay the planes on the table and sit beside them for a quiet minute. Ask your child to point to the design they'd fly again. Leave that plane on top, with its results underneath, ready for another afternoon.
What makes one paper aeroplane fly further?
Your throw gives the plane its initial push. As it moves, its wings provide lift, gravity pulls it down and air resistance, called drag, slows it. The Civil Aviation Authority's paper plane activity explains these forces and how changing wing shape or size affects flight.
That's why the test changes a fold while keeping the launch similar. Compare the recorded flights before deciding which version to keep.
How much afternoon should you allow?
Use 20 minutes as a loose plan after gathering the materials: 13 for folding, 4 for testing, 2 for the competition and 1 for parking the planes. Allow longer whenever the folds need another go.
For a shorter session, make the wide dart and fly it. The other designs can wait.
What if the plane dives or the folding gets frustrating?
Try small wing adjustments, then launch again. If the dart climbs and drops after you've raised its rear edges, flatten them and repeat the launch. If it dives, compare flat rear edges with a tiny upward bend. Change only the wing edges.
If folding becomes a battle, offer a different job: choosing the design, naming the plane or recording where it lands. You can do the fiddly folds.
And if planes aren't today's activity, pick something else from these rainy-day ideas for children. There doesn't have to be a finished fleet.
How can you pick it up again another day?
Keep the favourite plane with its flight notes and spare paper. Next time, start by flying that model before making another. Let your child choose whether to improve its distance, try a different design or organise another competition.
For a movement activity once the planes are parked, explore the Yogi-Me mats. They have 15 numbered poses laser-engraved into the surface, and the Sun Salutation design includes airplane.
Frequently asked questions
What is the easiest paper aeroplane to make?
Start with the wide dart if you're folding together for the first time. It leaves out the classic dart's extra inward folds. Let your child press the creases while you line up the edges, then swap jobs whenever they want a turn at folding.
Do you need glue or scissors to make a paper aeroplane?
You don't need either for the five versions here. The ring flyer uses a small piece of sticky tape; the other designs use folds alone. Keep a ruler nearby for the glider folds and use the same type of paper when comparing designs.
Which paper aeroplane design flies furthest?
For your hallway, choose the design that travels furthest across repeated launches, rather than judging a single lucky throw. Use the same starting place and ask the same person to launch each plane in a similar way. Keep the results together so you can compare designs next time.
What should go in a paper aeroplane school project?
Include a drawing of your design, the folding instructions, your flight measurements and the change you tested. Finish with what happened, even if the changed plane flew less far. A clear record of your own results is more useful than copying someone else's winning distance.
Sources
- Scouts: Fold a paper plane
- Royal Air Force Museum: Air Activities Badge, Stage 1
- Hampton Lakes Primary School: Fold and Fly handout
- Danny Nic's Science Fix: Ring paper planes and straw hoop gliders
- Scouts: Drag it, lift it, thrust it, weigh it
- Civil Aviation Authority: Paper Airplane Challenge
- National Physical Laboratory: Launch and land