guides
Homemade Christmas Cards Kids Can Make: 12 Ideas
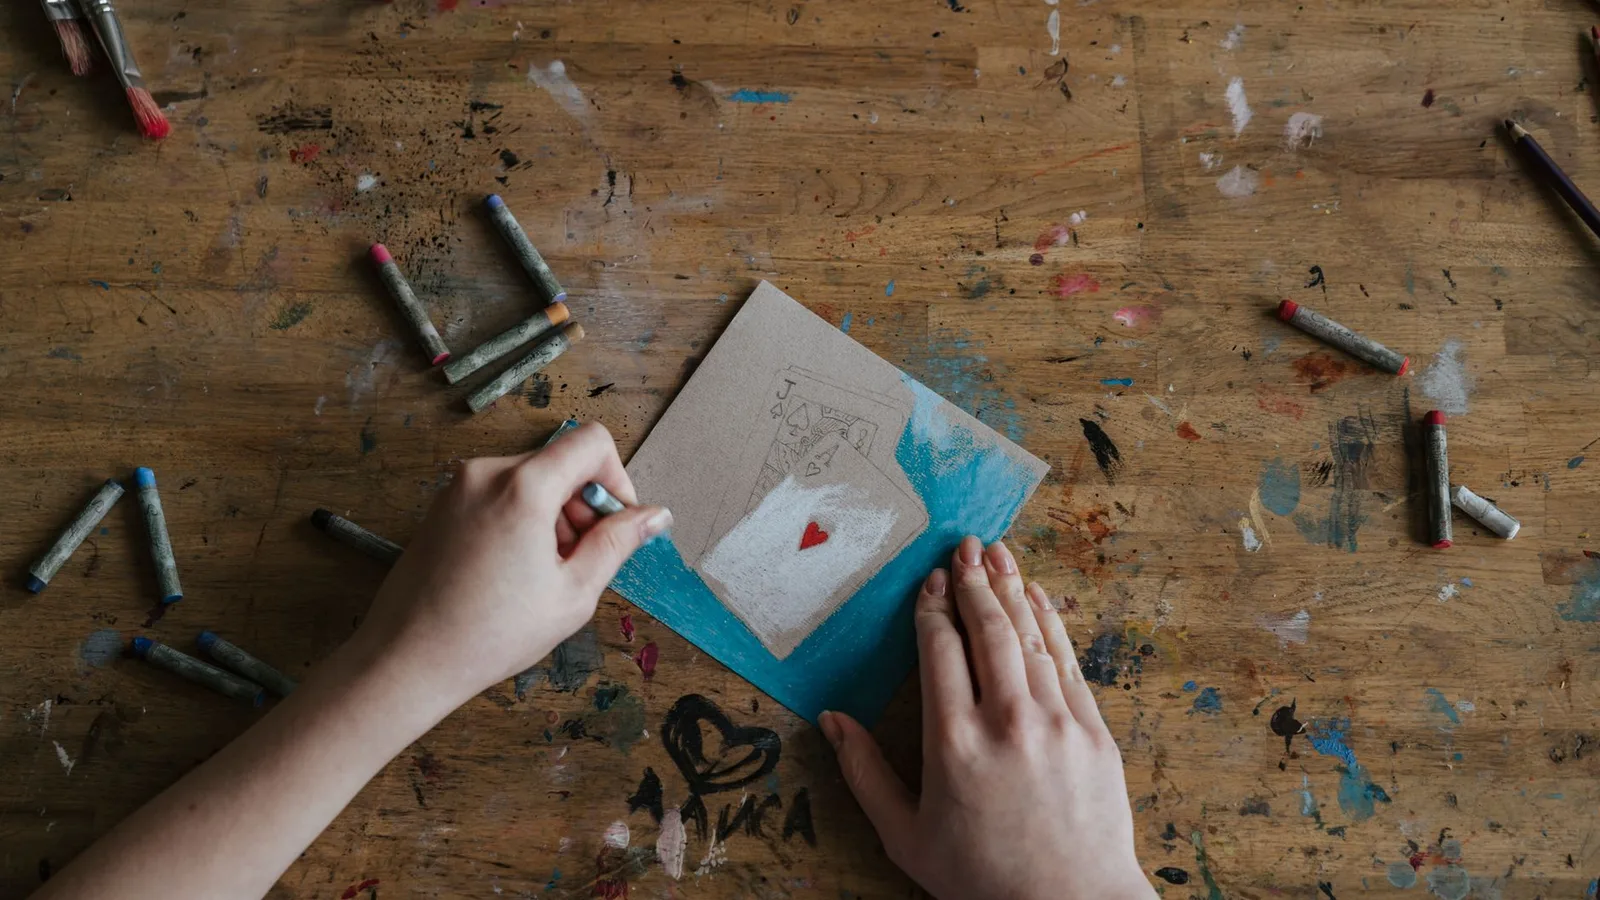
Make homemade Christmas cards with kids aged 3 to 8: 12 easy designs, a class-card plan and the Christmas 2026 posting dates to know.
How can you make Christmas cards at home?
To make homemade Christmas cards, fold plain card in half, add a fingerprint robin, potato-print tree or paper picture, then write a greeting inside. Pick a design your child wants to make and repeat it for classmates. These twelve ideas use paint, crayons or paper scraps, with grown-ups doing the cutting.
For a kitchen-table session with children aged 3 to 8, start with a test card and leave space for drying.
What goes on the table before you start?
For twenty class cards, set out 20 folded blanks, 20 matching envelopes and a spare blank for testing. Add crayons, a glue stick and paper scraps, or finger paints and a shallow paint tray. Only bring out the materials your chosen design needs.
You do all cutting, including potato stamps, then put sharp tools away, following NHS advice on keeping them out of reach. Keep buttons, beads and batteries out of children's reach: small objects can cause choking.
Which of these twelve cards should you try?
Choose paint if you've somewhere to leave cards drying, or paper and crayons if the table needs clearing for tea. For a batch, repeat the same picture. For family cards, let each person have a different design, chosen by your child.
- 1. Fingerprint robin, How to make it: Make a brown thumbprint, let it dry, then add a red chest and draw features, following the Woodland Trust's robin method.
- 2. Potato-print tree, How to make it: You cut a potato half into a chunky triangle. Your child stamps it green, then draws a trunk when dry.
- 3. Thumbprint reindeer, How to make it: Make a brown thumbprint. Once dry, draw branching antlers, eyes and a red nose.
- 4. Fingerprint wreath, How to make it: Dot green fingerprints around a pencil circle. Leave to dry, then draw a red bow underneath.
- 5. Paper snowman, How to make it: Glue three white paper circles in a stack. Draw eyes, buttons and a carrot nose.
- 6. Stripy bauble, How to make it: Colour stripes on paper. You cut out a circle; your child sticks it down and draws a hanging line.
- 7. Wrapping-paper present, How to make it: Glue a square of saved wrapping paper onto the card. Draw crossed ribbons and a bow.
- 8. Crayon candle, How to make it: Draw a thick coloured rectangle with a yellow teardrop above it. Add a saucer underneath.
- 9. Patterned mitten, How to make it: You cut a mitten outline. Your child adds crayon patterns, then sticks it to the card.
- 10. Starry sky, How to make it: Scribble a dark blue sky. Glue on a large yellow paper star you've cut out.
- 11. Snowy window, How to make it: Draw a window frame on dark paper. Add white crayon snow dots, then glue the scene onto card.
- 12. Christmas jumper, How to make it: You cut a paper jumper shape. Your child decorates it with stripes, spots or a favourite Christmas picture.
How do you make twenty class cards without taking over?
Use this suggested 45-minute plan for a shared batch, with a grown-up doing preparation and writing as needed. The slots total 45 minutes of activity; paint drying is extra. Spread it over several sittings if you prefer, and stop before the cards become a chore.
1. Give the cards somewhere to go: 5 minutes
Say, "We'll make them here and leave them over there." Cover the work surface and put out trays for wet cards. If your child spreads everything across the table, move the untouched blanks to your side so there's still room to work.
2. Choose the repeat design: 3 minutes
Ask, "Shall we make trees or presents?" Offer a paint option and a dry option from the table. If your child wants a different picture for every person, keep that idea for family cards and agree a shared design for the class batch.
3. Make the test card: 4 minutes
Say, "Let's try this one before we do the others." Check which way the card opens and whether it fits the envelope. If the paint makes a puddle, spread a thinner layer on the tray before trying another print on scrap paper.
4. Repeat the child's job: 15 minutes
Say, "You make the picture; I'll move the cards." Work in groups of five, keeping wet cards apart. Your child might want to stamp, tear or draw rather than complete every stage. Leave the picture as theirs, including wonky stars and unusual colours.
5. Clear up while the cards dry: 6 minutes
Say, "The pictures can wait here while we put things away." Move wet cards flat onto the trays and tidy the materials together. If your child wants to stack them, explain that they need to dry first. Pause the plan until they're ready.
6. Add greetings and finish: 9 minutes
Say, "Tell me who this one's for." Once the cards are dry, add details and write the greetings. If writing every name becomes too much, you can write while your child adds a mark. Match each finished card with its envelope as you go.
7. Sit and admire the batch: 3 minutes
Say, "Let's look at what you've made." Put the pens away and sit together with hands resting on the table. Your child can choose a favourite detail or simply look. Leave further decorating for another session; the batch can finish here.
What if your child loses interest halfway through?
Stop the batch and keep what they've made. You can finish the remaining cards together another day, or let your child decorate a sheet of paper that you cut into panels for several card fronts. They don't need to repeat the same job until they're fed up.
Keep blanks and dry materials in a labelled box so restarting needs little preparation. If they'd rather do something else, our quiet activities for home offer a change. For a broader festive afternoon, see our Christmas activities for younger children.
When should you finish and post your cards?
Make the cards before the day you need to hand them over, leaving time for drying, messages and envelopes. Ask school when class cards should arrive. For posted cards, choose the service first, then work backwards from Royal Mail's recommended date.
Royal Mail's announcement of 27 October 2026 gives these UK dates:
- Second Class: Friday 18 December 2026.
- First Class: Monday 21 December 2026.
Post early and check Royal Mail's Christmas page before sending, as dates can change. Check overseas arrangements separately.
Measure the finished envelope too. Royal Mail's Letter limits are 24 x 16.5 cm, 5 mm thick and 100 g maximum. Include the card and decorations.
Once the cards are drying, swap the table for a stretch. Explore Yogi-Me's mats, with 15 numbered poses laser-engraved into the surface for your next activity together.
Frequently asked questions
How do you make Christmas cards with a three-year-old?
Offer a folded card and a choice of crayons, torn paper or finger paints. Let your child make the picture while you handle cutting and write their message. A scribble with a name inside counts. Choose the job they want to do, rather than expecting a finished example to copy.
What's the cheapest way to make homemade Christmas cards?
Start with card, paper and colouring materials you already own. Save plain packaging card for the base and wrapping-paper scraps for pictures. Check that the finished card fits an envelope before decorating it. You can hand-deliver cards to nearby family and friends to avoid buying postage.
What should children write inside a Christmas card?
Keep it short: Merry Christmas, followed by the recipient's name and your child's name, is enough. For someone close, add a sentence your child dictates, such as I love playing games with you. You can do the writing while they add a drawing or their own mark.
What can you make with old Christmas cards?
Use ordinary paper card fronts as pictures for new cards, gift tags or a collage. A grown-up can cut around a favourite robin, tree or snowman, then your child can arrange and glue it onto fresh card. Keep the written message from the old card out of the new design.